
")
Our restoration stories
Engine rework
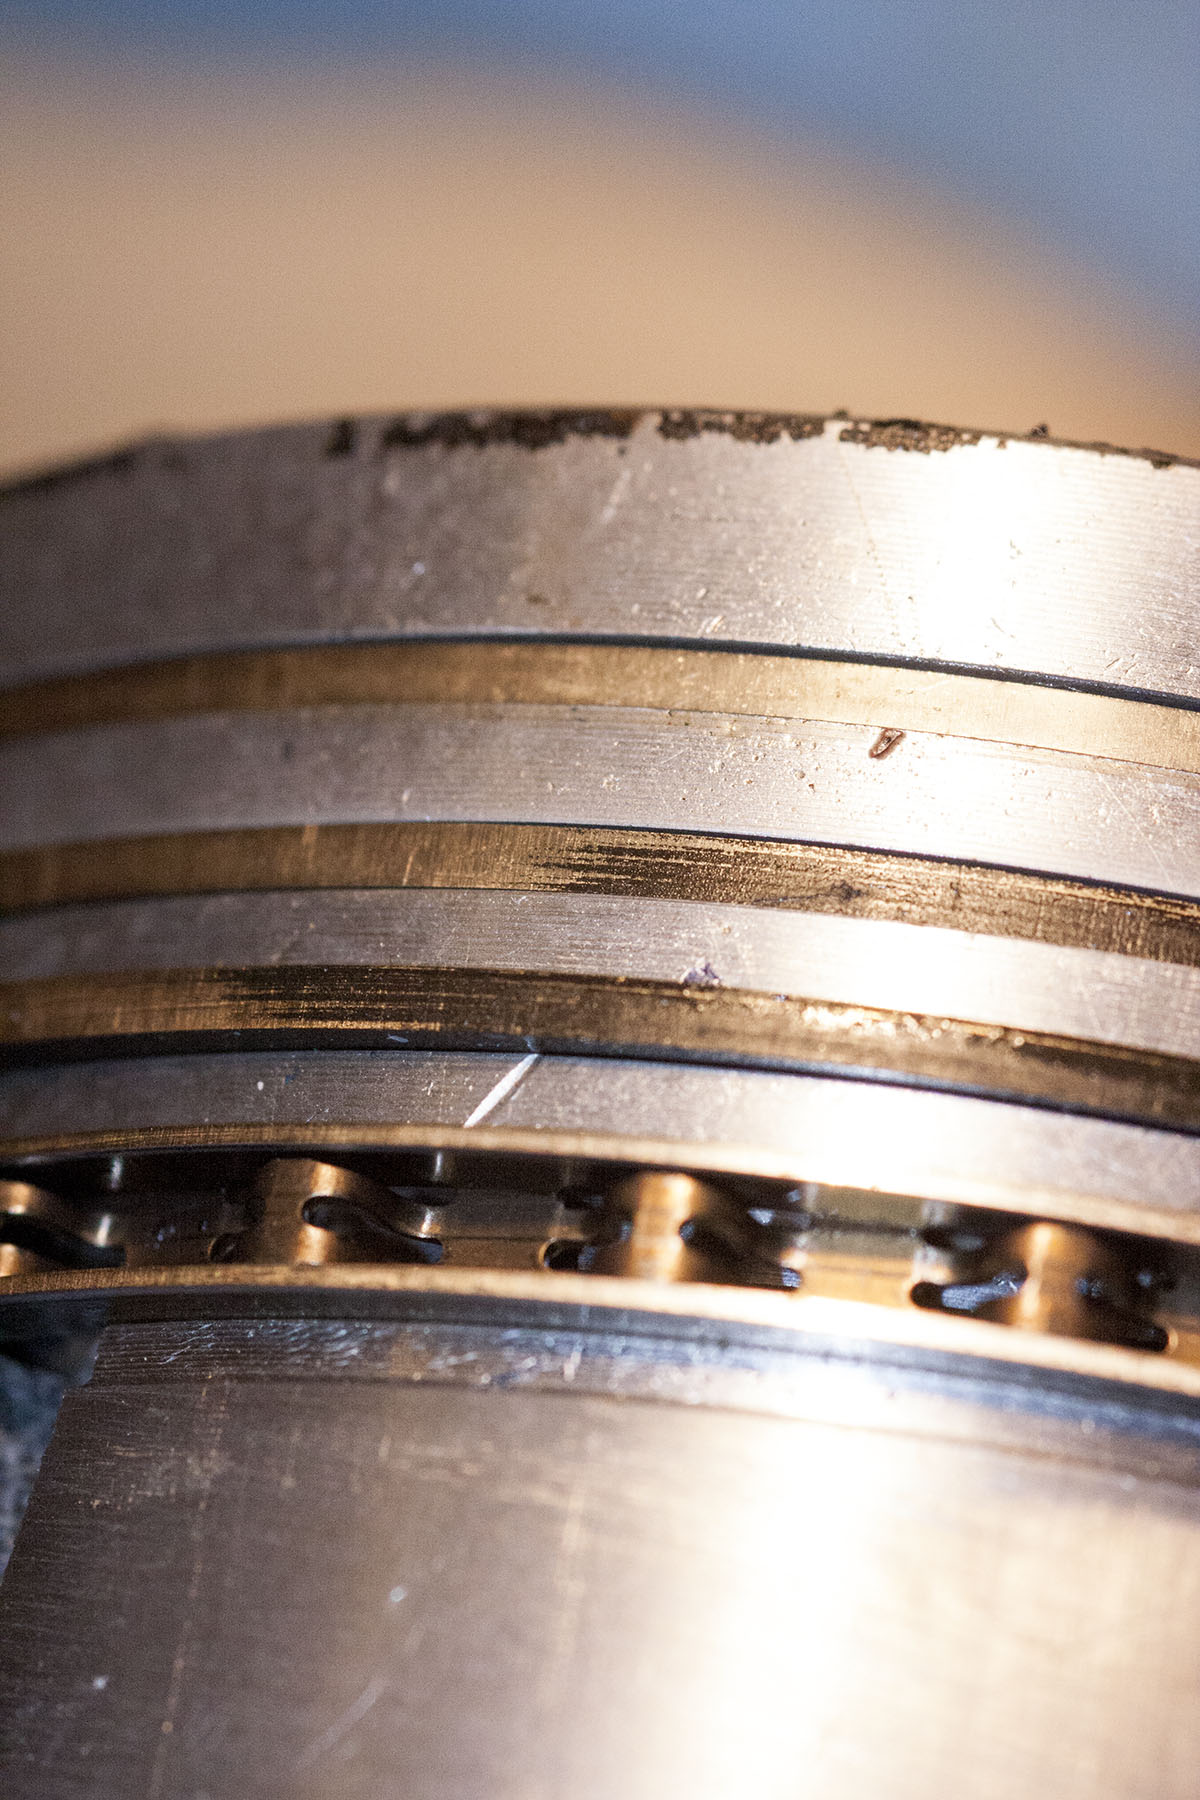 We saw it coming. The initial engine refurbishment was not perfect. All the machining was all fine. But the piston rings were never installed properly, which is why they never sealed correctly. The result was excessive old consumption and blue smoke from the exhaust. The main problem was that during the install we never checked for the piston ring gaps, thinking that if they are in one set, they should be ok. Next time we will check. On the picture the black carbon deposit on the side of the rings indicate the problem.
With the engine taken out we went to Peter van Giersbergen for advice. The damage was more severe than we anticipated and new pistons were needed. The quality of the pistons we put in during the first attempt was rather poor: a lot of variations in different dimensions. The newer pistons are now of better quality.
We also replaced the camshaft and the cam followers which we left in during the first revision attempt. Peter also balanced the flywheel and clutch to reduce possible engine vibrations. During the start up process of the engine we had difficulties getting oil pressure by cracking the engine on a starter. We finally solved that by priming the oil pump with new oil.
The re-refurbished engine now runs smooth without the all too familiar blue smoke. I cannot wait for the spring to arrive to we can take the MGA out for a drive.
Smoke screens on the dikes ...
 One thing that still needed some work was the parcel shelf. When we acquired the MGA, the parcel shelf was missing, including the frame that supports it. It turned that that a person nearby our town also has an MGA with a parcel shelf, who was kind enough to invite me for coffee, and some MGA stories. He also let me draw and measure the parcel shelf frame as well as the wooden framework attached to the metal frame.
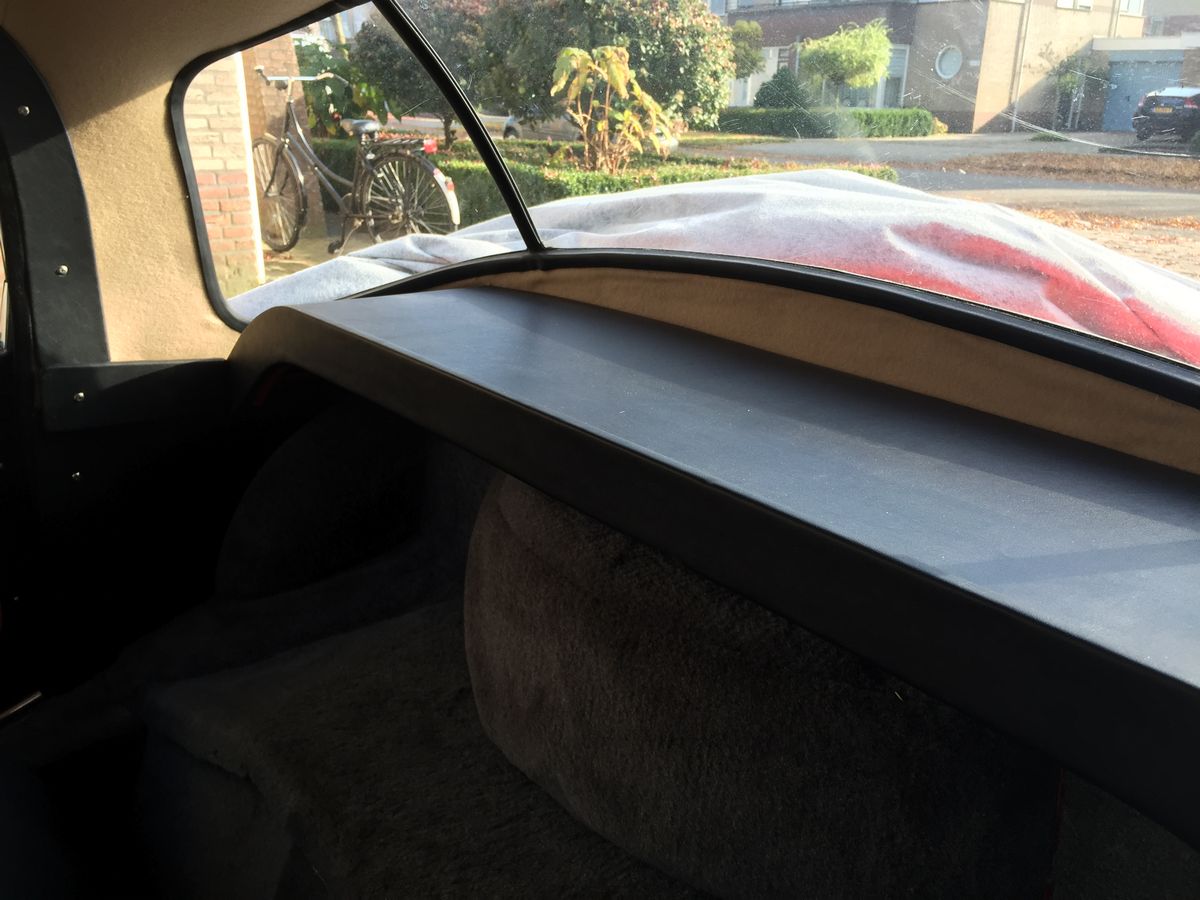 The frame is easy to make using a piece of 0.8mm sheet metal. It is fun just shape these pieces from a straight piece of metal. Once the 2 ends were formed we fitted them in the car and welded them together. The rest of the frame is rather simple to make. We gave it a few layers of paint and then focused on the wooden top and the wooden strip that is attached to the frame. A nice project for the winter time. Fitting in the car and then quickly back inside to continue working on the parts. It indeed took a bit of time to make it all fit. But we are pleased with the results.
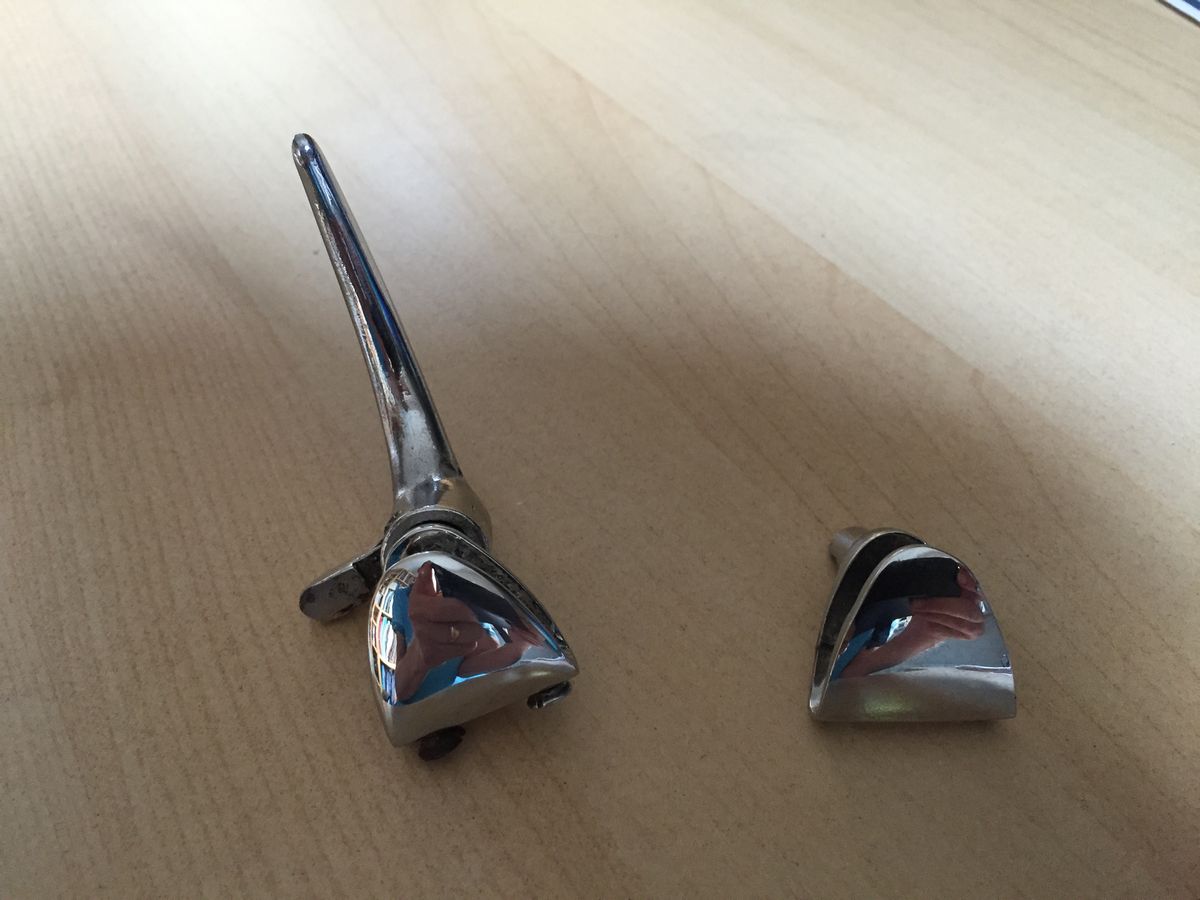 Another thing that needed attention was broken little chrome handle to lock the small triangular window. Efforts to find a spare were not successful and so the only option was to remake it from steel parts we had. After some welding cutting, grinding we were able to copy the part. It fitted perfectly and so the only thing left to do was getting is chrome It is amazing what a little patience and some time at the workbench can produce. The piece on the right is the broken one, glued together to make the copy process easier.
 We have been driving the car now for just over 1500 kms. We thought that the initial oil consumption and blue smoke from the tail pipe would eventually diminish. But that clearly was not the case. The spark plugs were always black with oil and idling for a traffic light was embarrassing. Looking through rear view mirror one could see the car behind slowly disappear in a cloud of smoke. After consulting with some experts, we had no choice but to take out the engine once again. It turned out that we made a mistake in not measuring the gaps of the piston rings. These were clearly too small and scraped the cylinder walls. It also had damaged the pistons themselves so that they had to be replaced. It also turned out that some of the bearings were damaged as a result of dirt in the oil gallery.
Another nice surprise we found out while taking the engine out was that the master brake cylinder was leaking. The brake fluid in the master brake cylinder contained black clouds and particles. A clear sign that some seals were slowly dissolving. Certainly the correct brake fluid is used. It looks like the quality of the seals was the main issues here. Brake fluid had also leaked onto the paint around the brake cylinder and so we had to repair some of the paintwork. This all thanks to this new master brake cylinder. Once the engine is back we will hopefully have better news. We will make an overview of the the mishaps. The least one can do with is to learn from them ...
The first 100-some miles ...
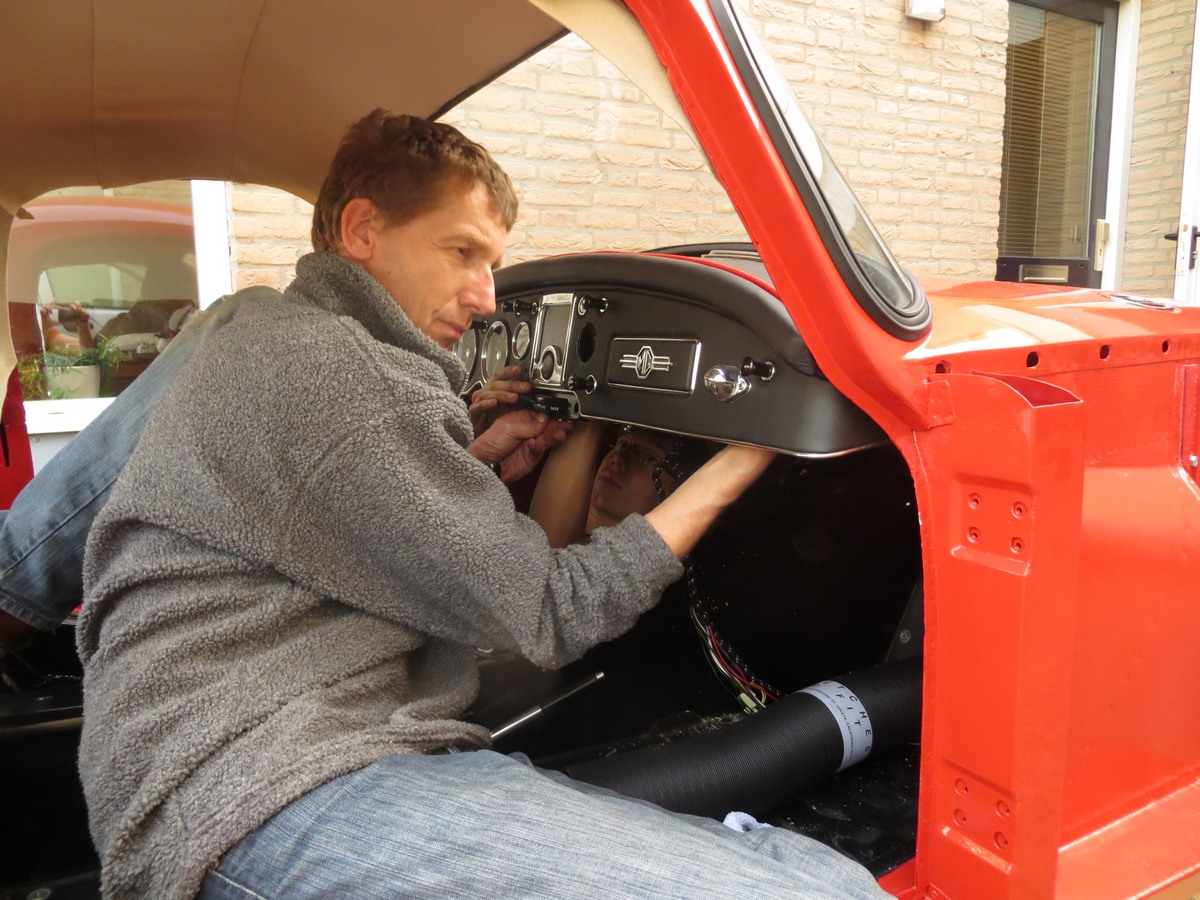
 After the milestone of the short run around the block, we mounted the fenders, headlights, tail lights and other attributes to make the MGA complete. For the headlights we compromised the originality of the MGA by installing relais so that the main current does not run through the little light switch any more. We did not want to maintain the originality with the risk of loosing the MGA in a blaze. Additional advantage is less voltage drop and thus more voltage at the lamp providing more light. Once suitable LED headlights are available, we can remove the relais. The installation of the windows in the doors was and still is not quite to my satisfaction. That will still need a bit of attention. The panels on the inside of the door are a bit thick and make the doors difficult to close. Nice job for the winter.
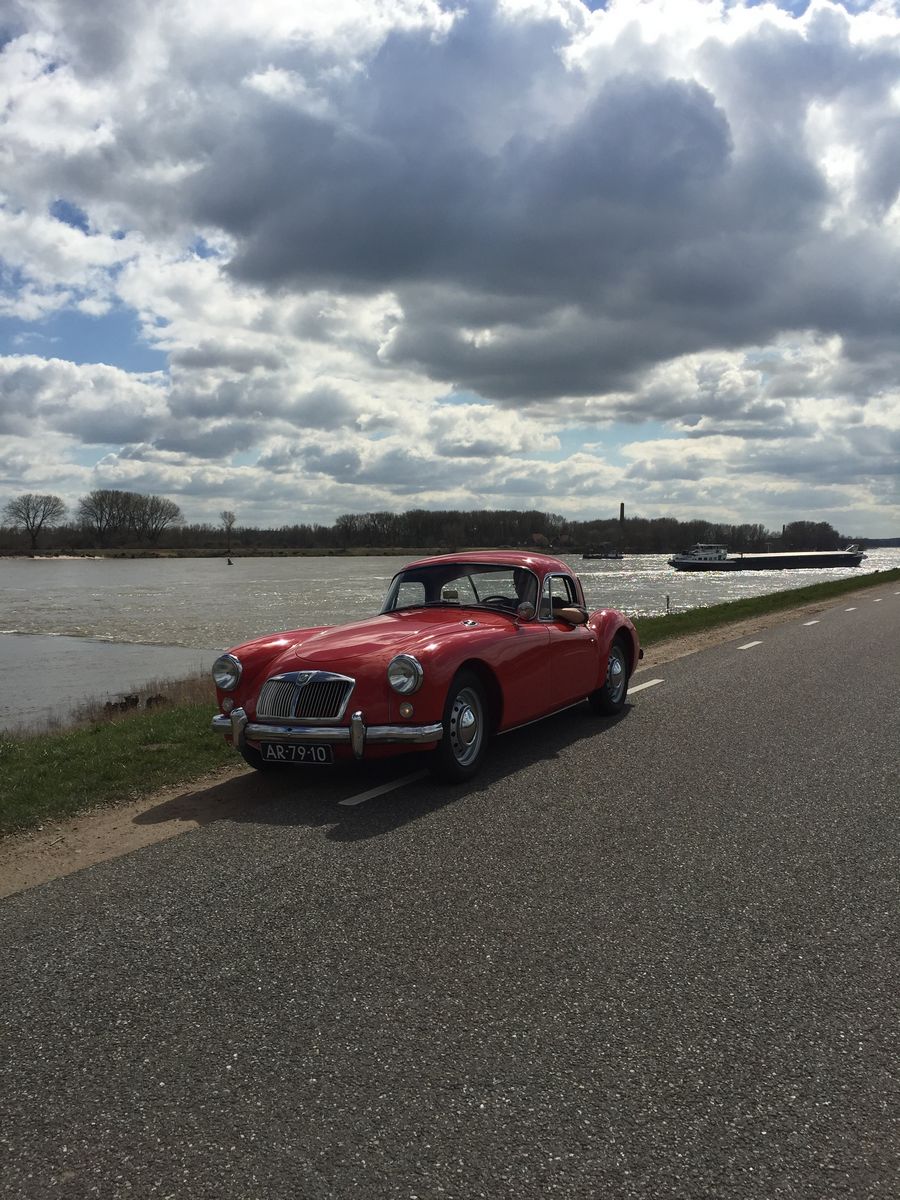
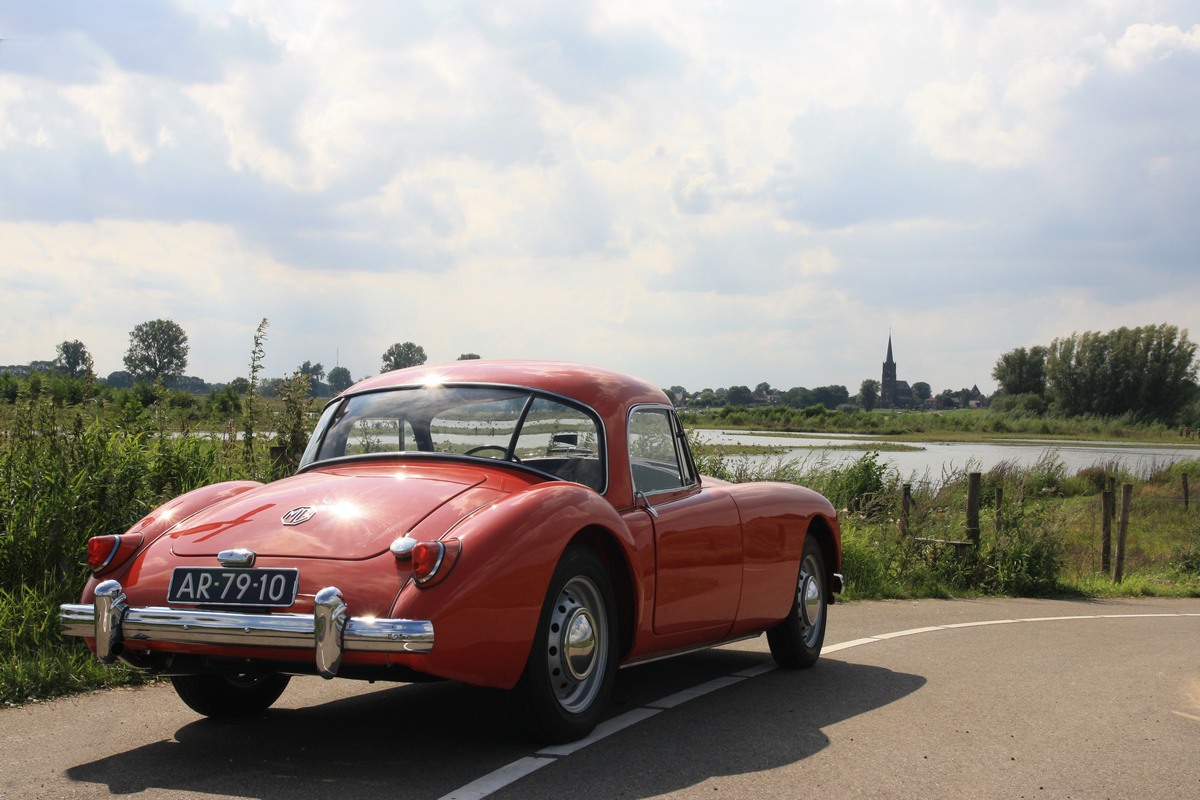
 The final touch was the installation of the re-chromed bumpers and over-riders. It took a while to get that completed but we were lucky enough to know another MGA owner who let us use his old bumpers for the time ours were getting re-chromed. That allowed us to get the paperwork done, such as registration, value assessment and insurance so that we could finally hit the road and cruise the little roads that line the meandering rivers near where we live.
A couple of issue surfaced while putting on the first couple of miles. Noise in the diff turned out to be a bolt on the drive flange I forgot to tighten. Another problem was severe oil leakage at the front of the engine. Despite all the famous jokes about oil leaking British cars we needed to put an end to that and replaced the cover over the distribution along with a new felt seal, which solved the problem.
 In the meantime we put another 500 miles on the odometer and it is a real blast driving the MGA. The engine never stalled or even misfired. The only time it did not immediately start was when I forgot to switch on the ignition. Despite the fact that the engine runs smooth, it does burn a bit of oil, up to a point that is becomes annoying or at least embarrassing. Of all the things that still need attention this is definitely one of them. Other things that still need work is the interior. I put sound deathening and heath insulation in the car, which was not a bad thing in retrospect. Even with this insulation the tunnel right behind the engine becomes warm. The final carpet still needs to be installed, so that will make the drive in the MGA more comfortable and enjoyable.
 Apart from the carpet, the fitting of doors and windows I still need to install the parcel shell behind the seats. When we got the car it was missing and through the different forums we had little luck finding someone who could show an example. We will see: if nothing else we should be able to construct one just from photo's of a coupe on internet.
Roaring again ..
 A milestone we have been looking forward to. Firing up the engine for the 1st time. We had to take a few hurdles to get there, but we managed! The first problem we encountered was that we could not get the clutch to work. In the end it turned out that a lever was installed the wrong way around and to correct that we had to take out the engine again. After that the clutch slave cylinder leaked badly, and we had to replace that. I had already checked the distributor on a test bench to make sure that the mechanical and vacuum advance were both in spec.
 Next we checked all the electrical components and wiring. To do that without risk of burning wires I installed the battery and connected it through a fuse in case there was an unexpected short circuit. But everything worked as planned: The fan, the lights in the dashboard, and the wiper motor. Everything worked, except the fuel pump for which we found a nice replacement at a enthusiastic MG owner who has a hobby in restoring old SU fuel pumps, and he did a good job. After checking the electrical components, we powered the starter with the spark plugs removed we waited for the oil pressure to come up, which it did after a couple of seconds.
 The first real start attempt was next: fuel in the tank, ignition on, wait for the fuel to arrive at the carburettors and... Nope. The fuel leaked out of the carburettors so we aborted this first attempt. It turned out that a needle valve was not properly installed. And so the next day we would do attempt number two, and vroooommm.. We have lift-off. After 35 years the MGA is roaring again. We adjusted the carburettors to get a nice even run and Daan took it out around the block.
A couple of issues came out of this alpha test: The generator is not producing electricity, and the speedometer cable was broken. But all other systems performed well: gearbox, clutch, breaks and steering. We still have to fit the fenders, doors and finish the interior and then we can go for the license. We are getting close ...
News from the paint booth
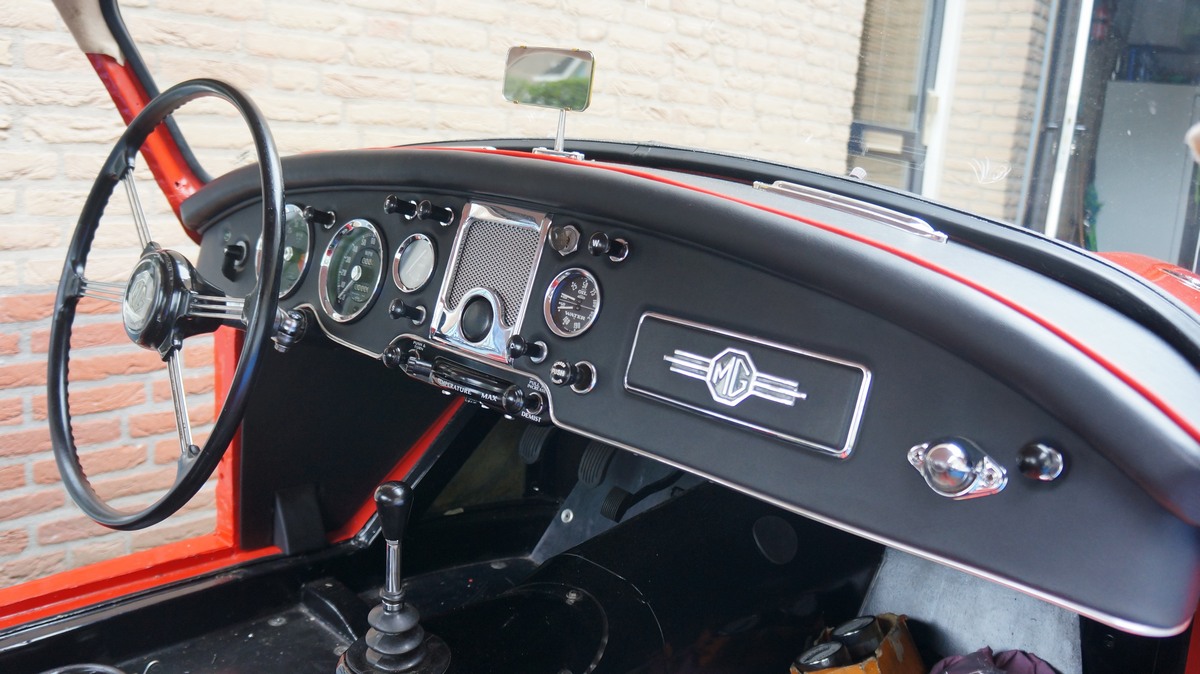
 It is starting to come together. The bodyshell paintwork is all done. It has been a lot of work but the result is superb. John Hurenkamp in Wijchen took care of the paintwork of the Bodyshell.
 During the restoration we applied paint to avoid immediate rusting of the new sheet metal. To get a clean result this intermediate paint coats had to be removed. After that filler was applied to make the surface perfectly smooth before any colour paint can be applied. After many hours of sanding, another primer coat is applied to box in the filler.Now the application of the colour can start, but not after an undercoating is applied to avoid chipped paint once the car is in use. After that a the interior including boot and engine compartment was painted in the correct colour: Orient Red. This is not the original colour of the car, which is Island Green. But the Orient Red was considered a nicer one and now is the time to switch.
 With the painting of the inside of the car, the outside had to be masked with masking paper. Clearly this had to be reversed when painting the outside of the bodyshell. This was done in 2 layers: a colour coat and a clear coat. The result is absolutely great. We let the fresh paint sit for a couple of days before we hoisted the bodyshell and lowered it on the chassis. Another milestone, wouldn't you agree?
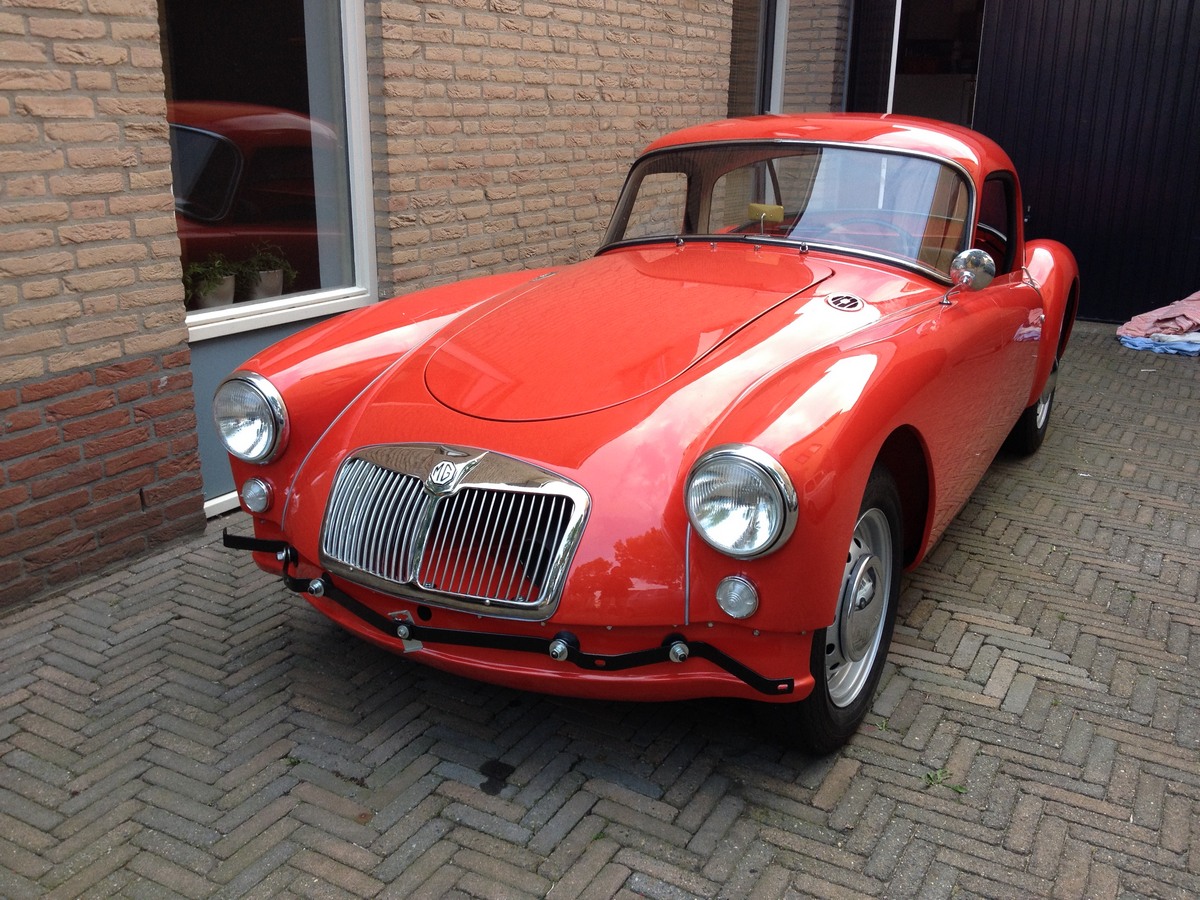
 In the meantime I have been collecting all the parts that still need to be installed, like fuel tank, heater, wiper motor, and collect the right bolts and nuts so that installation can be executed smooth and swift. The issue is that it is not really a good time for the final assembly: Daan has his school and I have my work, and besides the weather is not appealing. We will be waiting for the spring to arrive with better and more stable weather so that we can install the headliner, the windows, doors and all the rest to make the car complete. If all goes well, we will be able to crack the engine this summer and take it for a spin. Awaiting spring we found a good shelter for the car: a nearby MG car dealer had a spot open behind the display window. A nice dry and warm place with the spotlight on...