
")
Body work
Inner sill repair
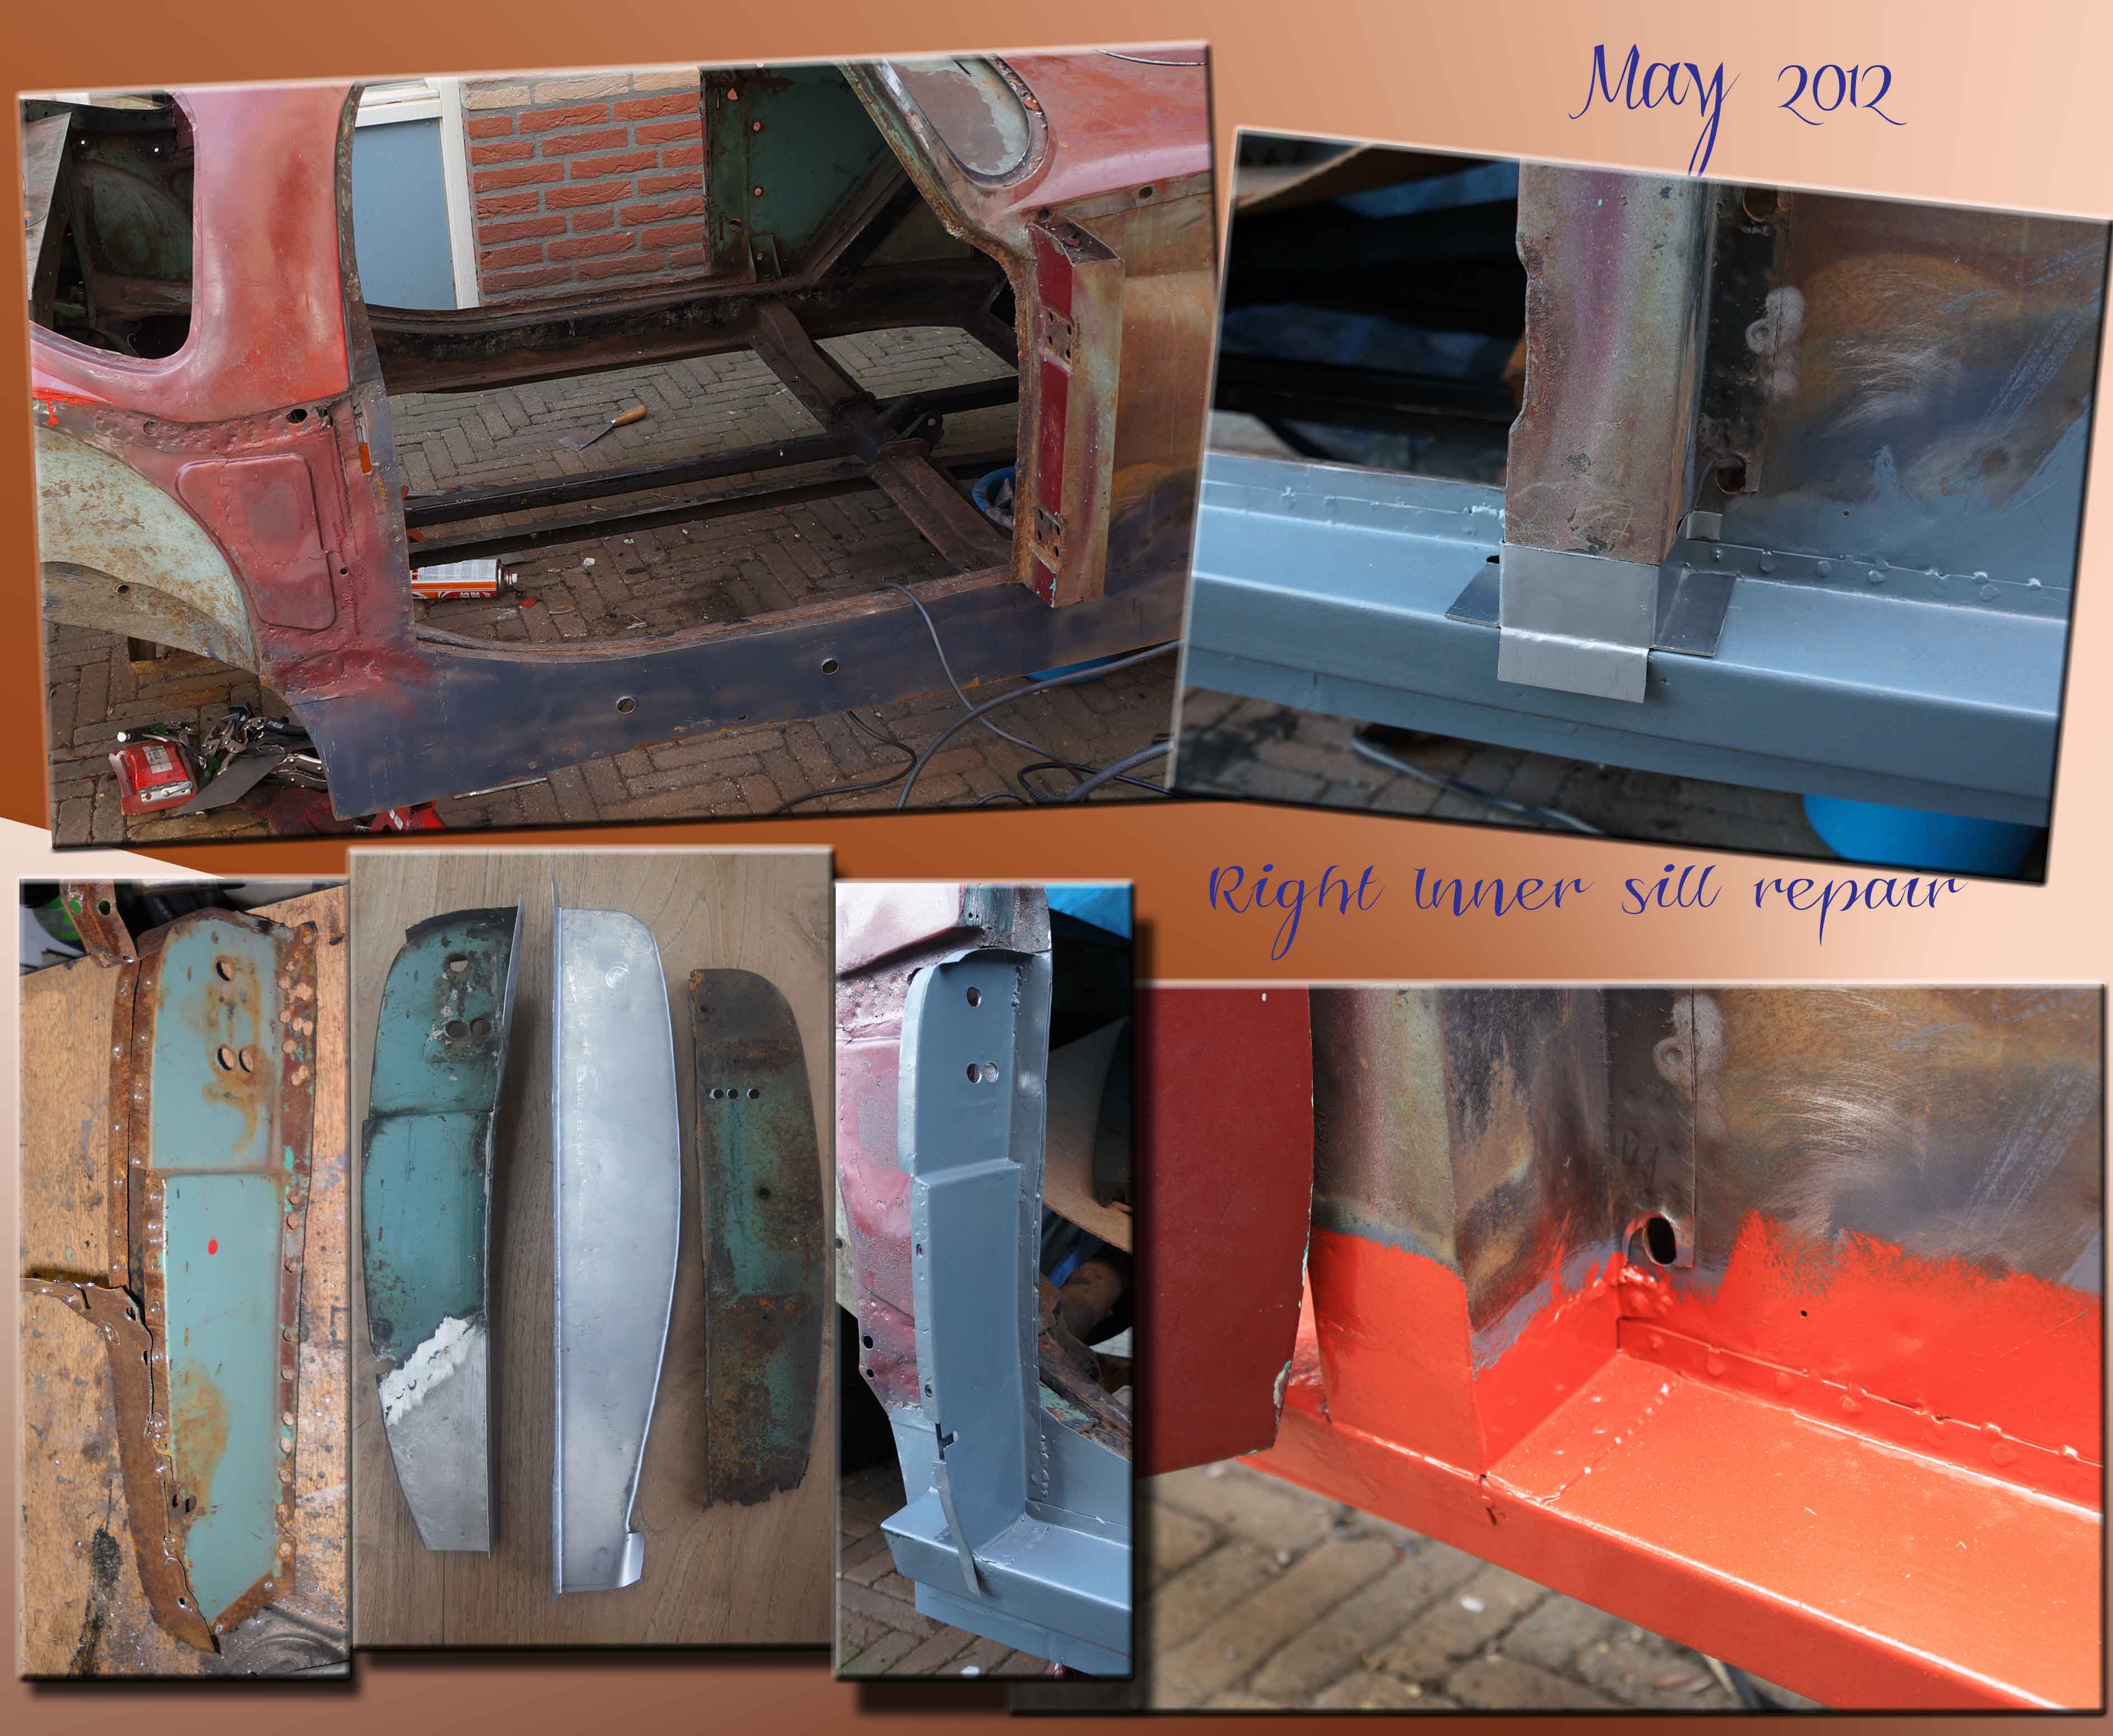 With the MGA the inner sills are not visible once the car is completely assembled. Still dirt and moist knows how to get there. The fenders covering the inner sills showed some rust damage and indeed as almost always in such cases, the rust damage was much worse than it seemed at the first glance. Both inner sills were so bad that they had to be replaced. First remove the old sill by drilling out the spot welds. On the right-hand side the panel, which the sill was welded on was also in bad shape and needed replacement too.
 We painted the inside and the outside of the new sills to protect it from rust. The areas where the welds will come were covered with tape to prevent epoxy paint from coming too close to the welds. The welding area themselves got a coat of weld primer. The 5mm metal punch was a great asset when punching 5mm holes for the welds in the sills: Over a 100 plug welds per sill. I'm getting better at it and so the 2nd sill hardly needed any grinding at all. Enough wire speed and current to fill up the holes nicely. After the sill was fitted to the car, the lower-end of the posts needed to be reconnected. Formed a new piece from a 1mm thick piece of sheet metal.
On the left-hand side the A-post was bend due to a collision. It could not be straightened out while still on the car. So all the twisted parts were cut off and drilled out, hammered out on the bench and welded back in. The inside of the posted will be spray painted prevent further rust damage. The outside is painted with a 1K epoxy primer and few layers of paint. The paint layer does not have to be perfectly smooth and shiny, as long as it keeps the rust out. I did paint it in the final colour just to get a impression how the new colour will look on the car...
Making new floor panels
 Up until now we have been removing badly rusted metal from the car body. It is time to turn that around at start adding metal to the car. The top of the B-post is now straight again. It was badly dented and filled with loads of filler. To be able to access it from the back, I cut away some sheet metal at the inside. Ather flattening out the outside panel, we could weld in the inside sheet metal again. At the same time pieces of metal are welded into the B-post. All that is left on this side is replacing the inner sill and the lower part of the B-post.
 Time to take on another part: Repairing the floor boards. These are all plywood boards. So we picked up a large sheet of plywood at the local wood shop, used the old boards as templates to cut out the new ones. We took plywood that is a notch thicker and copied all the holes and cut-outs. After that several layers of paint on all sides to make them able to live through the Dutch climate. Well, to be honest, it will only be the summer dry weather part of the Dutch climate... The right B-post is up next. That is in a much worse condition, so I have removed the complete B-post from the car and separated it into the original components, repairing the separate parts. When a part is easy to replicate we may want to just take a fresh piece of sheet metal and remake it all from scratch.
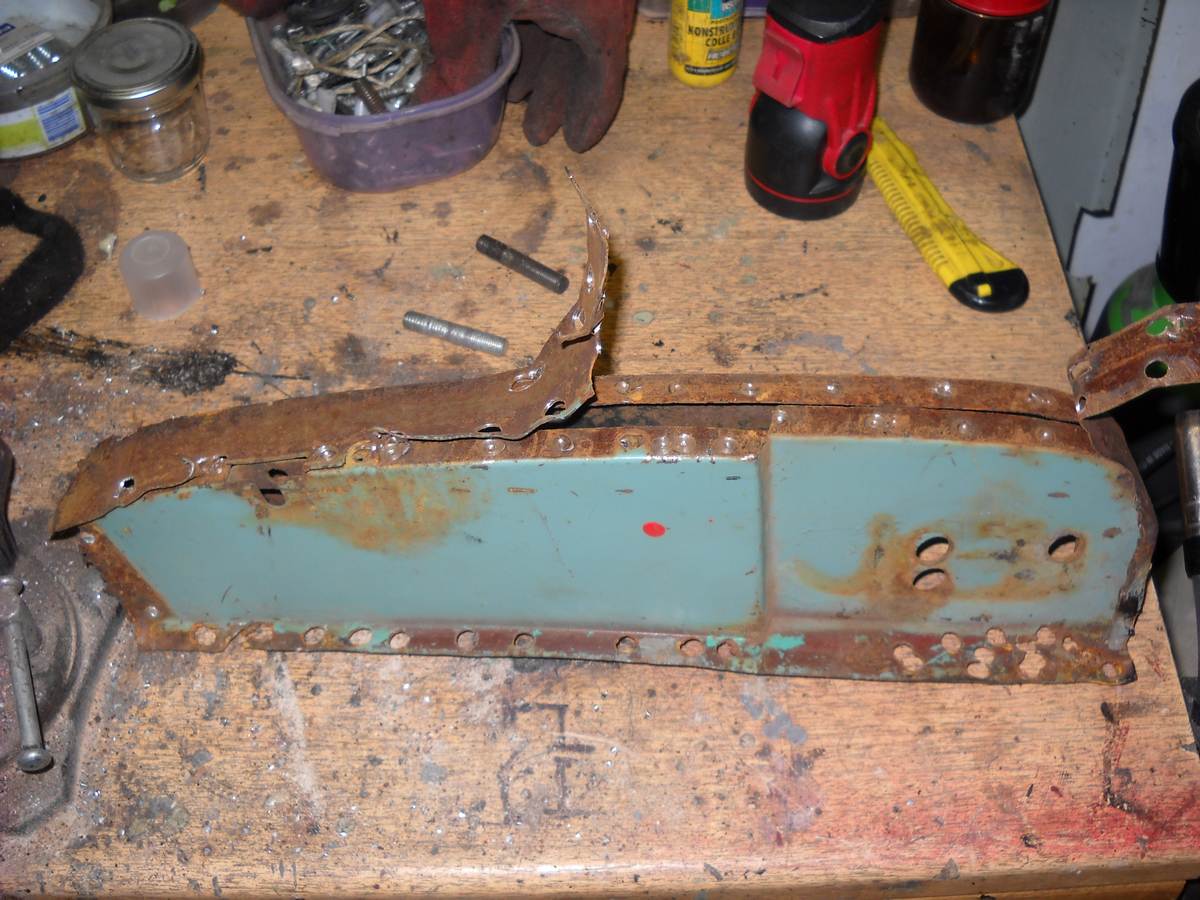
Car fender archeology
 The raining season is setting in and so it is a good time to start working on the fenders in the garage, well protected from the weather. They have been dangling from the ceiling in the garage for almost a year. Now it is time to get them down and start working on the. At the first glance they look undamaged. There are parts that are severely rusted. There are also a couple of small dents. First we remove all the paint mostly by just scraping it off. Layer after layer comes off until we hit the bare metal. During our rear fender paint excavations we sometimes found an amazing 13 layers of paint.
 In some cases there were little rust spots where the metal had become very thin. By welding it up and grinding it flat again those spots were easily repaired. In other places the rust monster had progressed just a bit too much and a piece was cut out and a new fresh piece of sheet was formed to fill the gap. It took a long time, but eventually the fender regained its original strength and shape. Still it seems that the rear fenders are still the original ones. The lower 3 layers seem to be the original 3 layers of paint as it came out of the factory in Abingdon England, with the light green as the top coat. It is also impressive that despite the thick layers of filler that was used, the paint did not peel off over time.
 The front fenders were less dented compared with the rear fenders. The sheet metal of the front fenders is considerably thicker compared with the read fenders. Probably because the latter is more curved and this curvature provides some strength just by itself. Definitely saves some weight, but it makes it more vulnerable.
 After repairing the rear fenders, we fitted them on the car to see if everything fits. It is better to still modify the fender while it is not painted with the final paint. Right now there is just one front fender to go. The left front fender was not too bad. The lower left part had to be replaced, but apart from that it was a fairly easy repair. The right front fender is a different story. At the first glance it looked fine. But while removing the paint there was enough polyester on the fender to make a decent size sail boat. More on that in the next message.
Dings and dents and worse...
 When we first got the car, only a few dents we visible. The rear of the car had suffered a significant blow once. Judging by the rust visible in the dent, it has been there a while. How do we tackle such a problem? How to get the dent back out? First we do some research in literature and on the internet. And then we just grab a couple of hammers and start. The trick is not to hammer too much. In case the sheet metal is hit by a foreign object, part of the metal will deform permanently. Other areas will just bend because of this initial deformation, but will bend back like a spring once the deformation is eliminated. It is best to only work on those points in the sheet metal that are directly hit.
During the time consuming process of working out the dings and dents you realize one thing: Getting it out takes longer than getting a dent in... The latter is also much easier. The picture here shows the first steps. Gentle taps are better than hard blows. Keeping a dolly on the other side of the metal helps flattening out the dings. First you need to 'look' for the dolly as it is on the other side of the metal. You can do that by just tapping with the hammer and listen for the sound. Once you hear a high pitched 'pling' you know that you are on the dolly. A large file can reveal local low and high areas. A temporarily layer of high gloss plaint also helps. We also need that to protect the sheet metal for rusting before it gets the final paint, which is still some time away. The picture shows that after step 1, 2 and 3 a 4th step is still required. Once we are at that point, we will surely add that to the site.
It is getting serious...
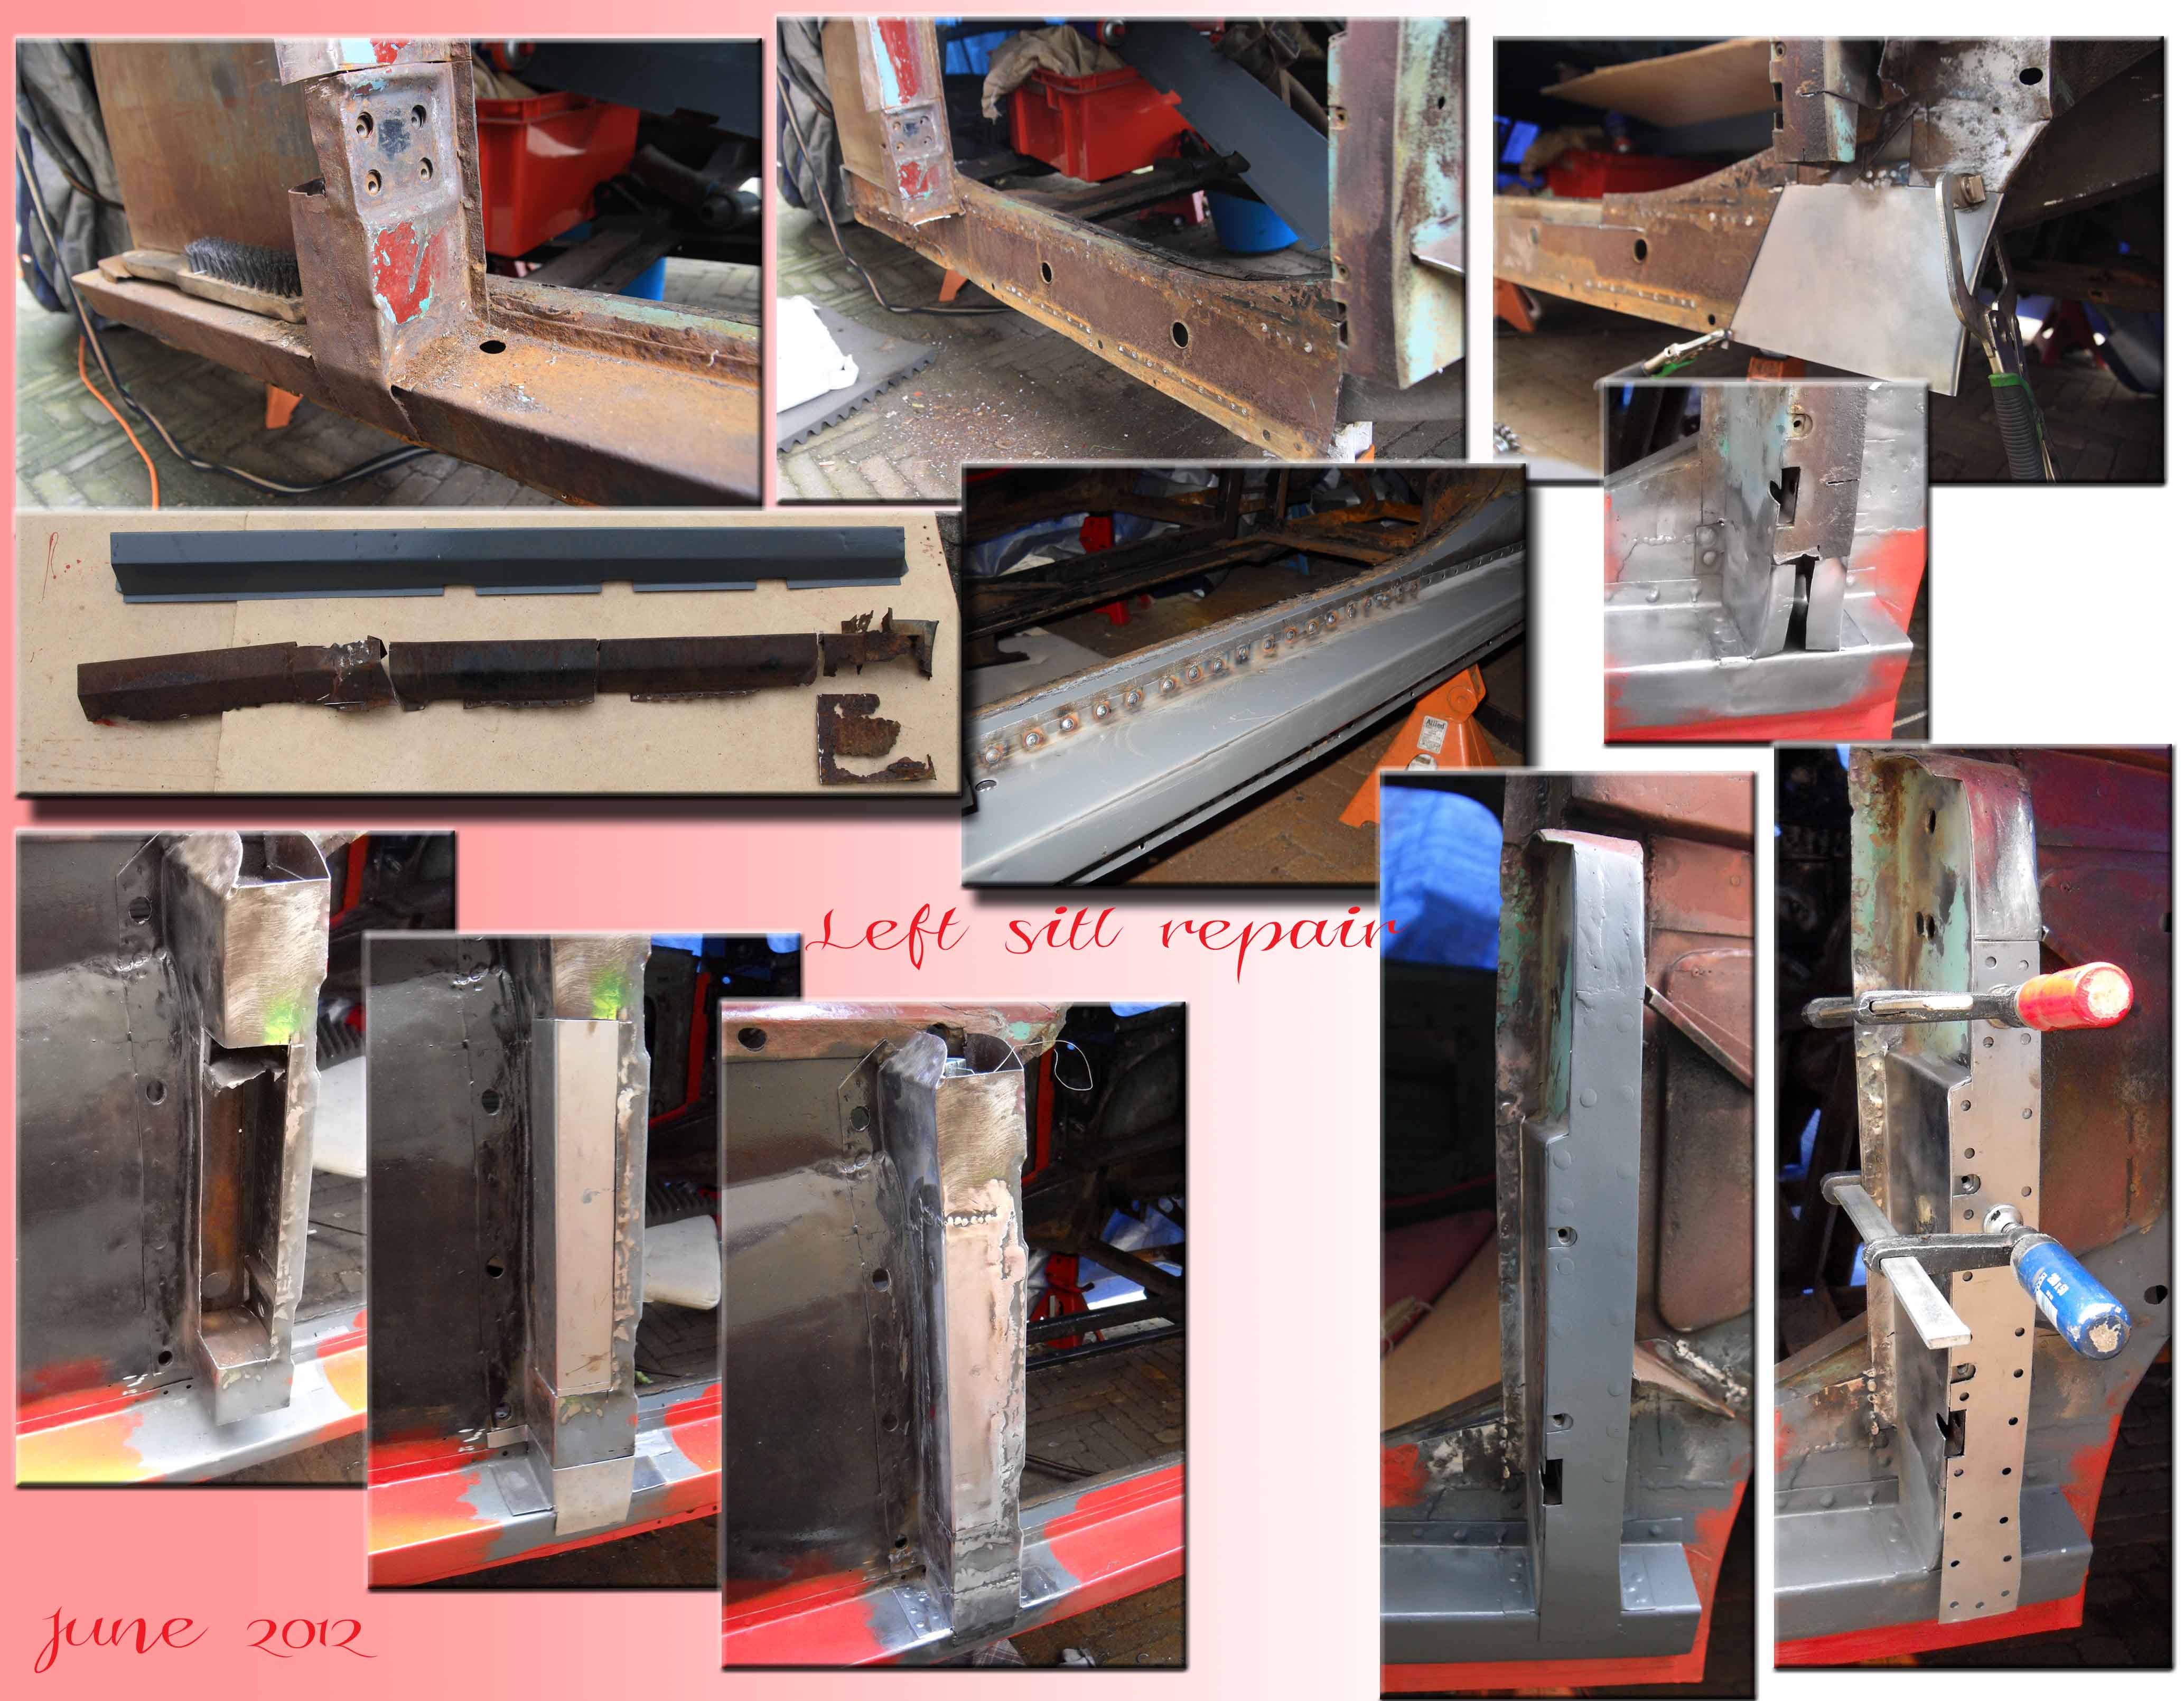
 It is amazing how bad underlying pieces of metal can be after the outer sheet metal is removed. The right outer sil is completely rusted away. The last bit is even completely disjoint from the front part. Fortunately the construction is rather simple. Moreover this car has a separate chassis that preserves the overall integrity of the car even with the sil completely removed. With other cars one would have to weld in re-enforcement structures to maintain the integrity even before the first sheet metal is cut out.

 Not only the sil has to be replaced, even he sheet metal the sil is welded to is just too bad to repair. We are replacing one piece at the time, so that we can align the new sheet metal to the old piece. The welding in is a slow process to allow for the metal to cool down. In retrospect we still did not do it slow enough. The good thing is that the sil will straighten is up. It is a good lesson for the next time: the sil on the left!

 The welding skills themselves are improving. If the weld is good, only a little grinding is needed. I guess once the car is done, we will be professionals. Since the car was involved in a few collisions, we are looking for another MGA coupe on which we can take some measurements for comparison. It would not to hurt to do some checking. It would be bad if the panels do not fit at the very end.
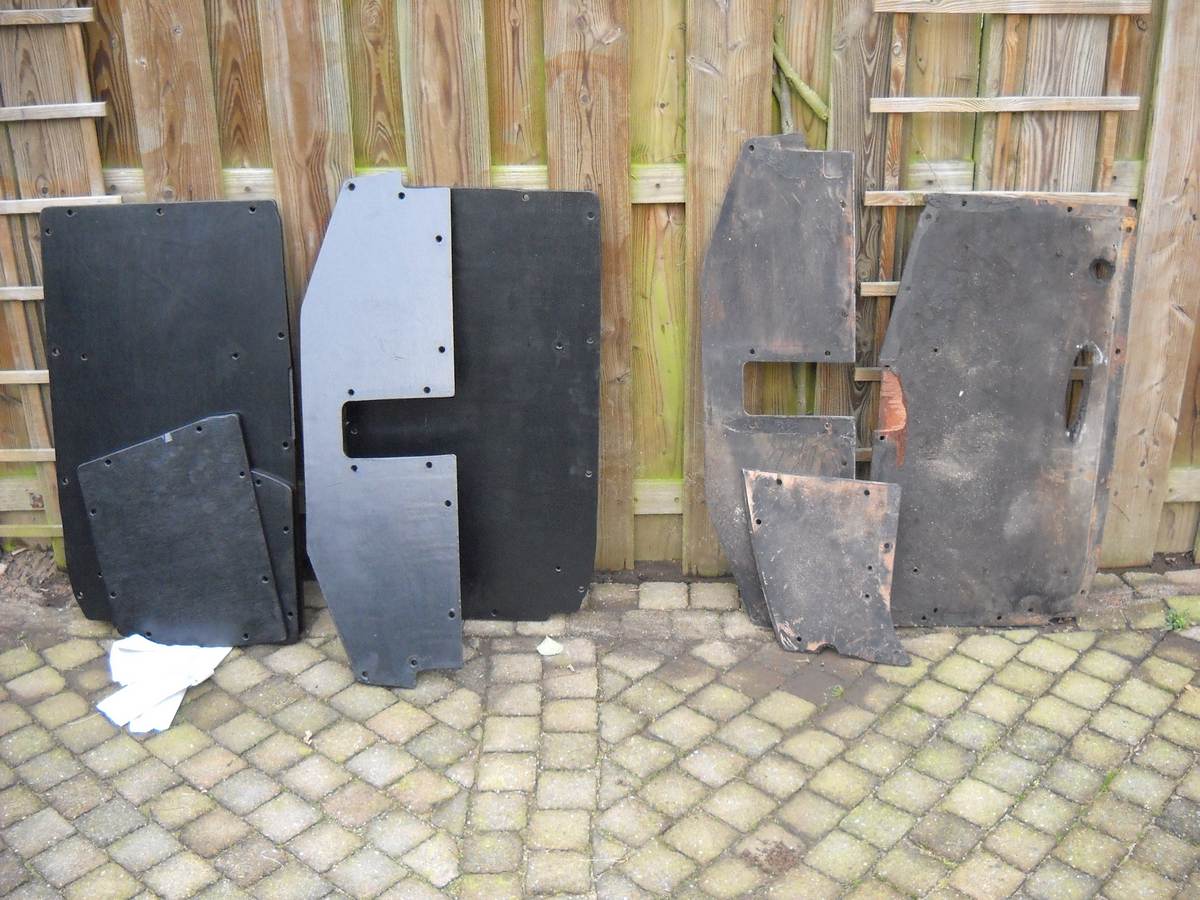
If the weather is not good, or you are sick of all the rust, there are many other parts you can work on to cheer you up again. The different elements from the dashboard as well as all the metal parts from the engine are cleaned with a wire brush and painted again. Those parts are all waiting for the engine to return. The machine shop is almost ready so in a few weeks I can pick it up again and put everything back together again. Can't wait ... The only part still in the car is the gearbox. The main reason for this fact is because there is no space left in the garage!