
")
Engine
Engine rework
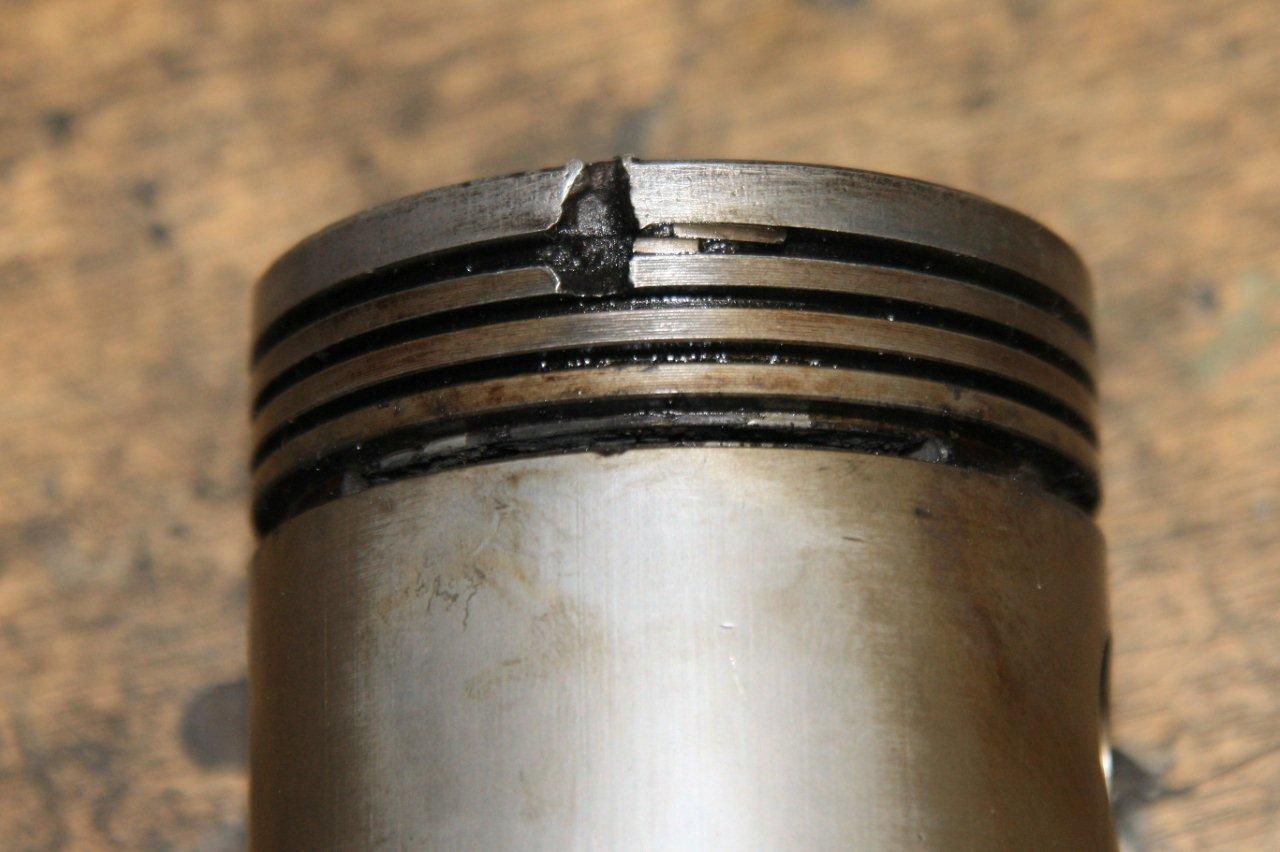
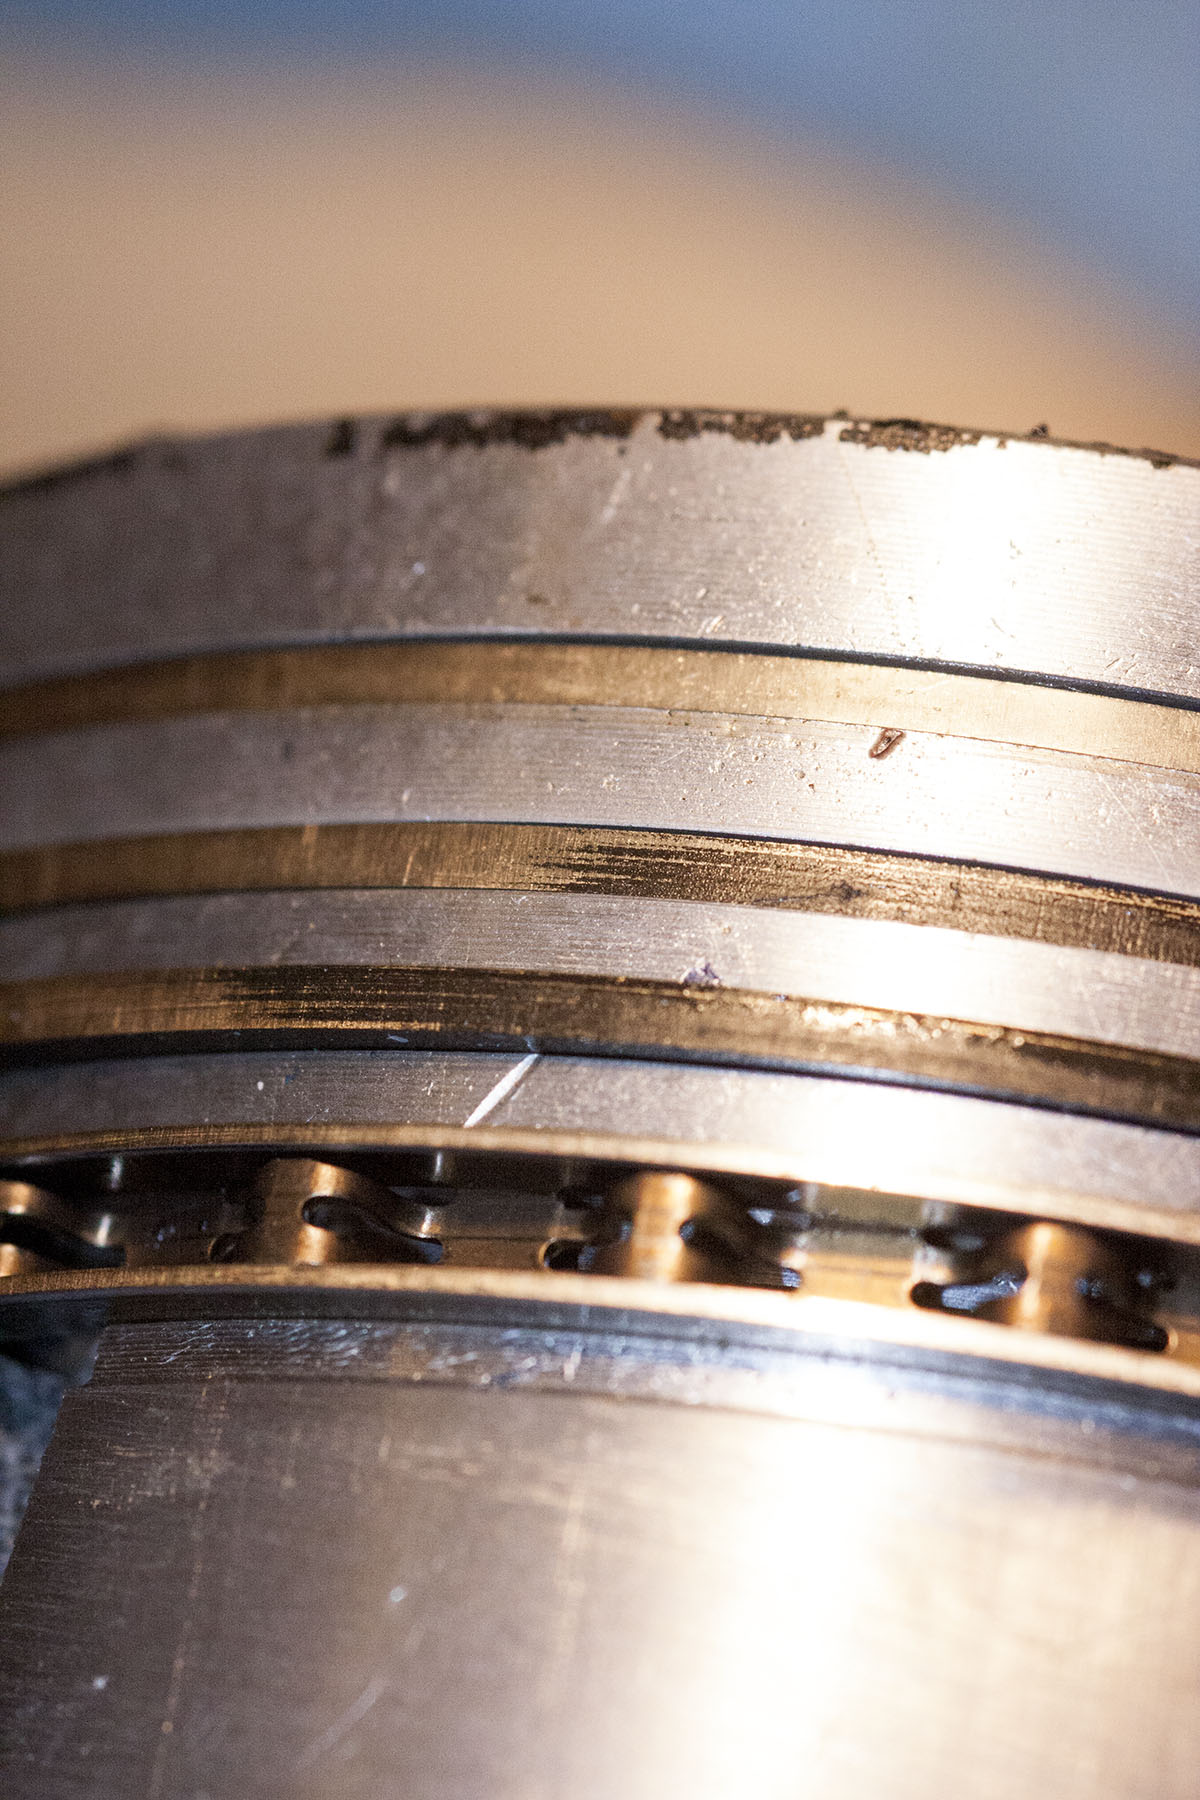 We saw it coming. The initial engine refurbishment was not perfect. All the machining was all fine. But the piston rings were never installed properly, which is why they never sealed correctly. The result was excessive old consumption and blue smoke from the exhaust. The main problem was that during the install we never checked for the piston ring gaps, thinking that if they are in one set, they should be ok. Next time we will check. On the picture the black carbon deposit on the side of the rings indicate the problem.
With the engine taken out we went to Peter van Giersbergen for advice. The damage was more severe than we anticipated and new pistons were needed. The quality of the pistons we put in during the first attempt was rather poor: a lot of variations in different dimensions. The newer pistons are now of better quality.
We also replaced the camshaft and the cam followers which we left in during the first revision attempt. Peter also balanced the flywheel and clutch to reduce possible engine vibrations. During the start up process of the engine we had difficulties getting oil pressure by cracking the engine on a starter. We finally solved that by priming the oil pump with new oil.
The re-refurbished engine now runs smooth without the all too familiar blue smoke. I cannot wait for the spring to arrive to we can take the MGA out for a drive.
Putting the engine back together...
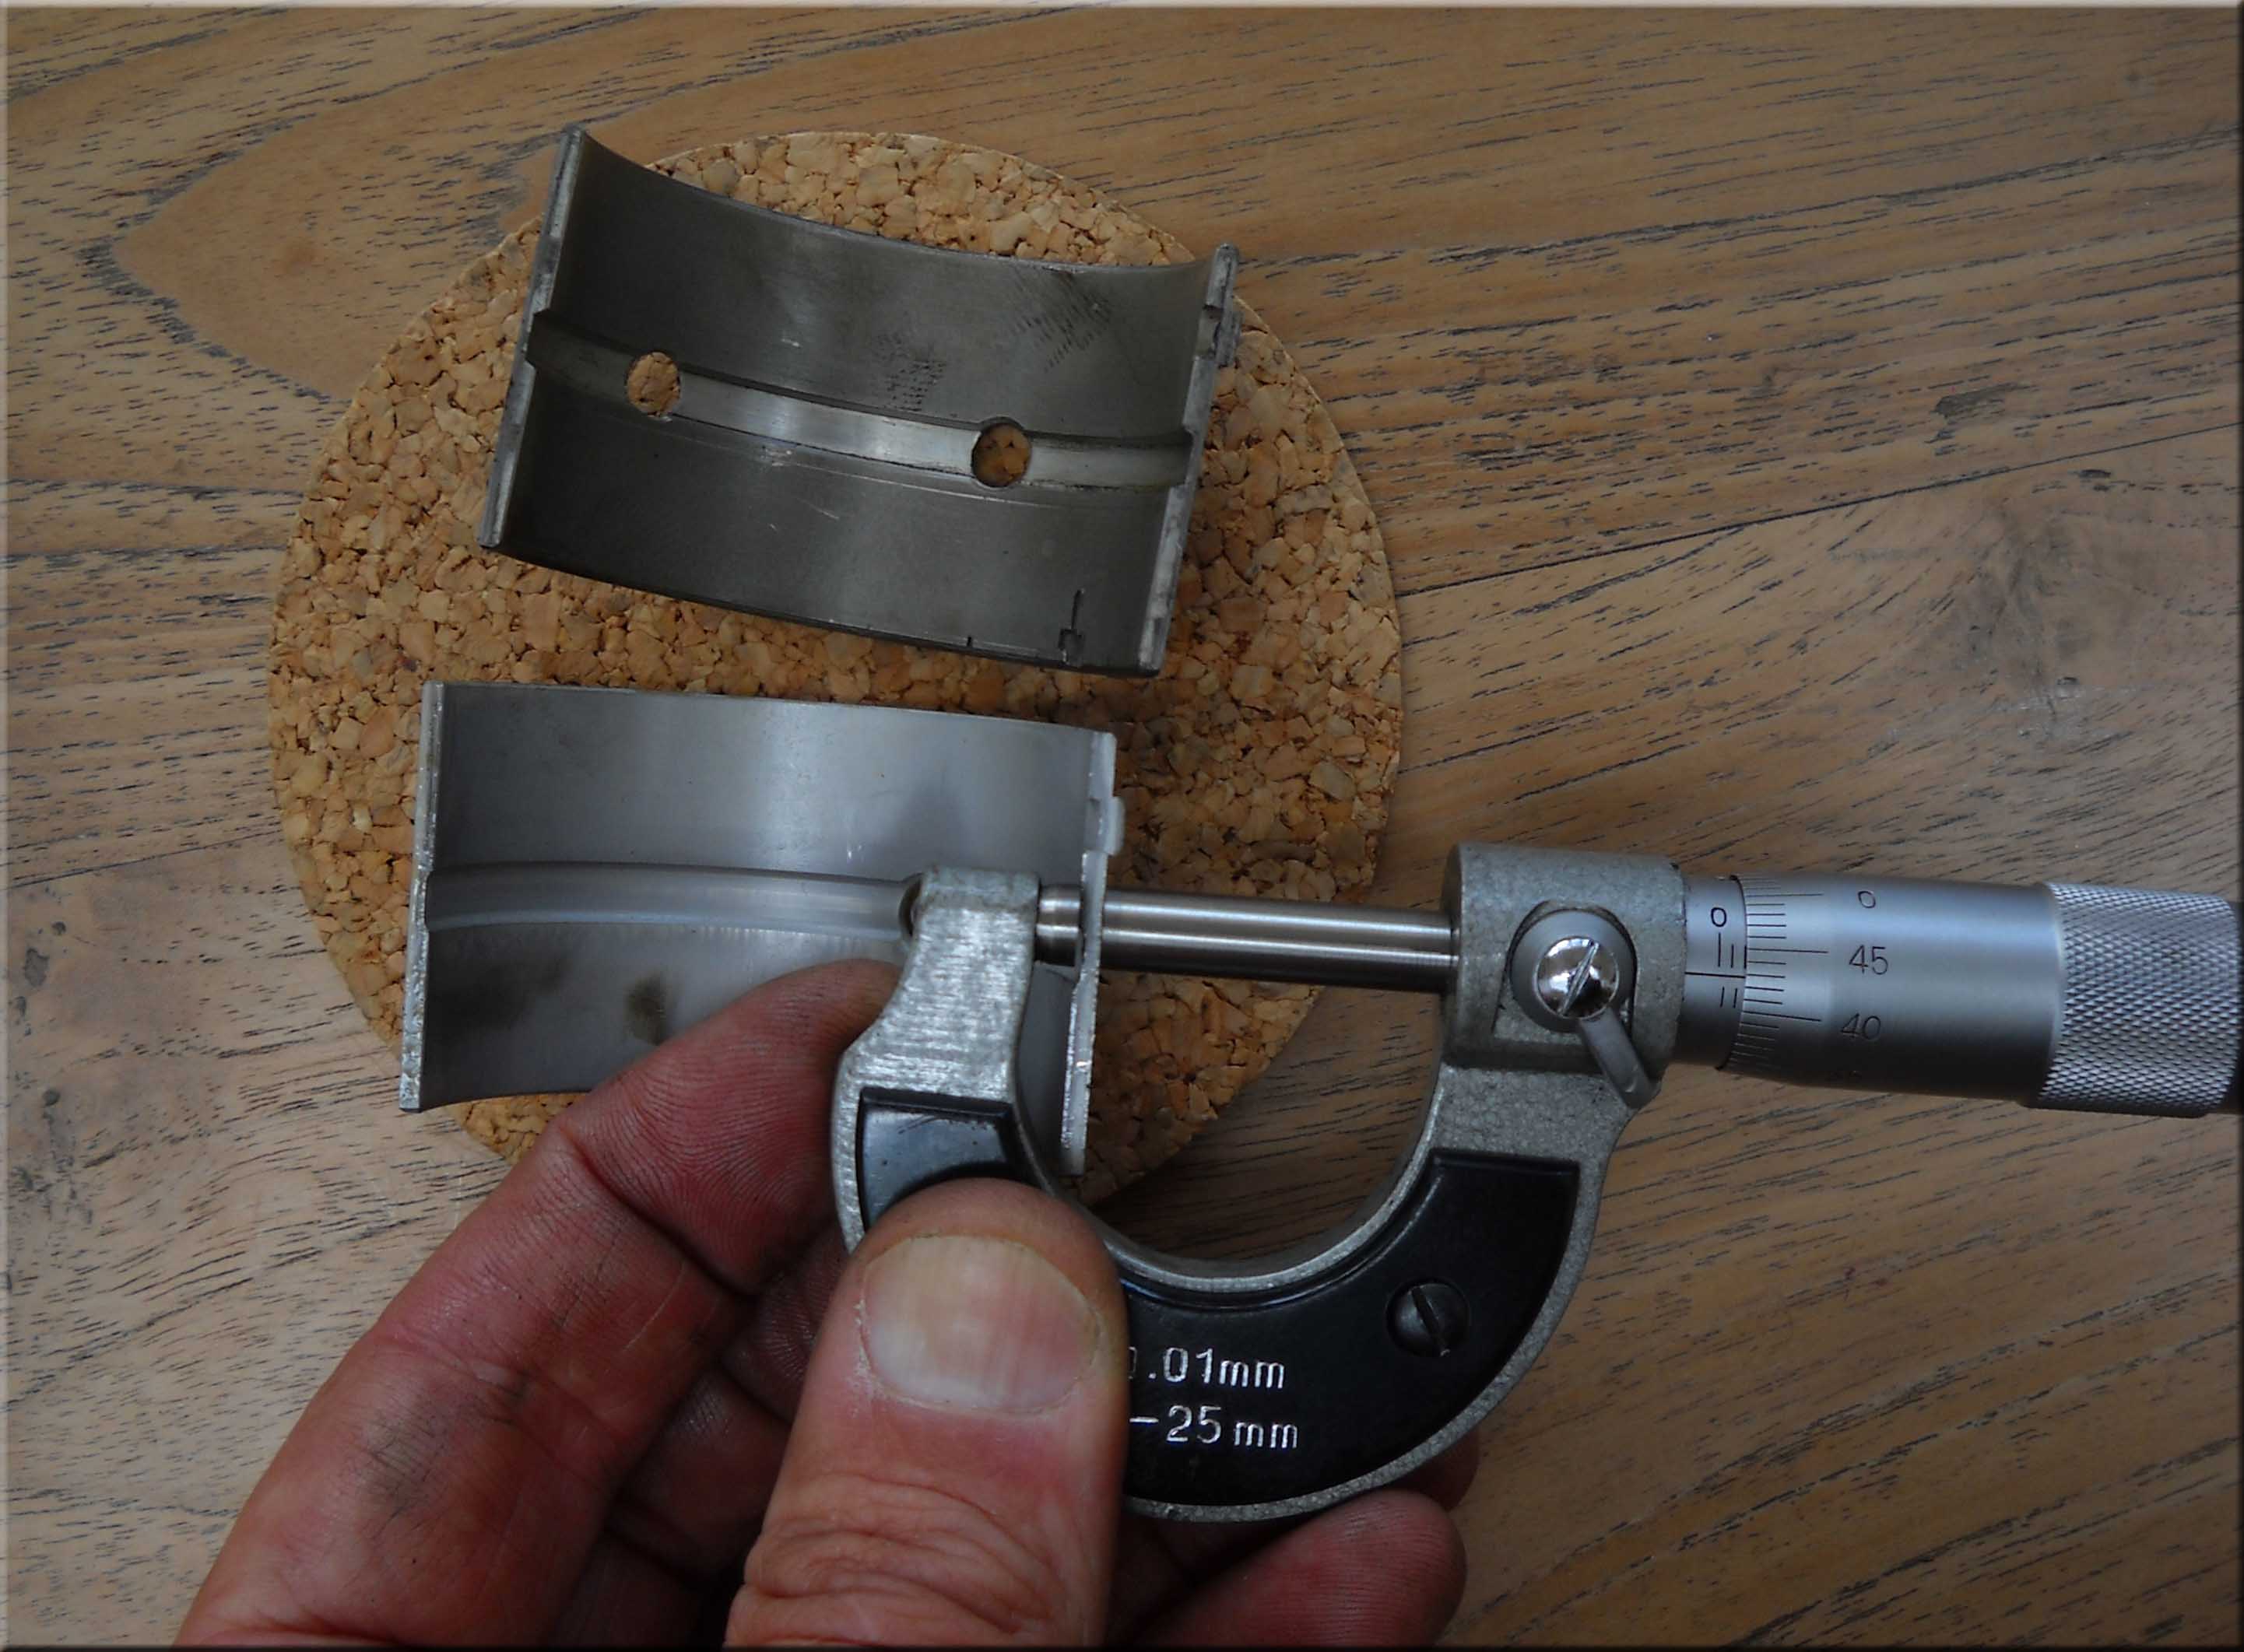
 Over our summer holiday in California we finally got all the remaining pieces of the engine delivered. We measured the bearings again to make sure that the tolerances are correct.The piston ring gap spacing ended up being a little on the big side: 0.45mm. But there is not much I can do about that now. At first I thought we just got the wrong rings, but that was not the case. We will just go for this. There is little chance of damaging the block with it.
The pistons with the new rings went in smooth with enough oil to lubricate everything. The bearings all have 0.01" oversize, and that fitted quite well. A nice tight fit. New big-end lock plates are installed to make sure they stay tight. During the installation of the chain we found that the tensioner almost came out of the housing in order to push the chain straight. Better to replace it. The cause of the worn chain is probably 2 fold. First the car did quite a few miles to begin with. But the chain wheels were not perfectly aligned, which may have contributed to the wear. Adding a few shims will improve the alignment.

 During our visit to the US we picked up a modern device to upgrade the ignition. A Hall sensor that can be build into the original MGA distributor. It is not visible once the distributor cap is installed. The only evidence is a second wire that runs from the distributor to the coil. With the Peugeot we also upgraded the ignition to an electronic one. Now you need to know that I am an electrical engineer, so this is right in my alley. But apart from that, it is so much more reliable and stable: Electronic ignition in the MGA: go for it... An extra ground wire is soldered onto the ground plate to make sure the voltage drop is kept to a minimum. With the new electronic ignition, we also bought ourselves a new coil. Never trust an old coil. From the outside you can never see if it is bad. Even measuring a coil does not always reveal a possible bad condition, so just replace it to be sure...
New verb: to MG
 A couple of weeks into the New Year, it is time to pick up where we left off last year and spend some time working on the MG: to MG! It is time to check up with the engine restoration. The new pistons gave rise to a bit of discussion. There is no clear final cylinder measurement for the pistons. The brand name is 'County' and they are manufactured in Taiwan. I tried to find the values on the internet, but up to now: no answers. I guess I have to use my Taiwan connections to get these numbers. One may think why not using the original oversize value from MG? But this is not quite the same piston and it may require a different tolerance. We have some time to figure it out. If there is someone with experience, or otherwise some suggestions, let me know.
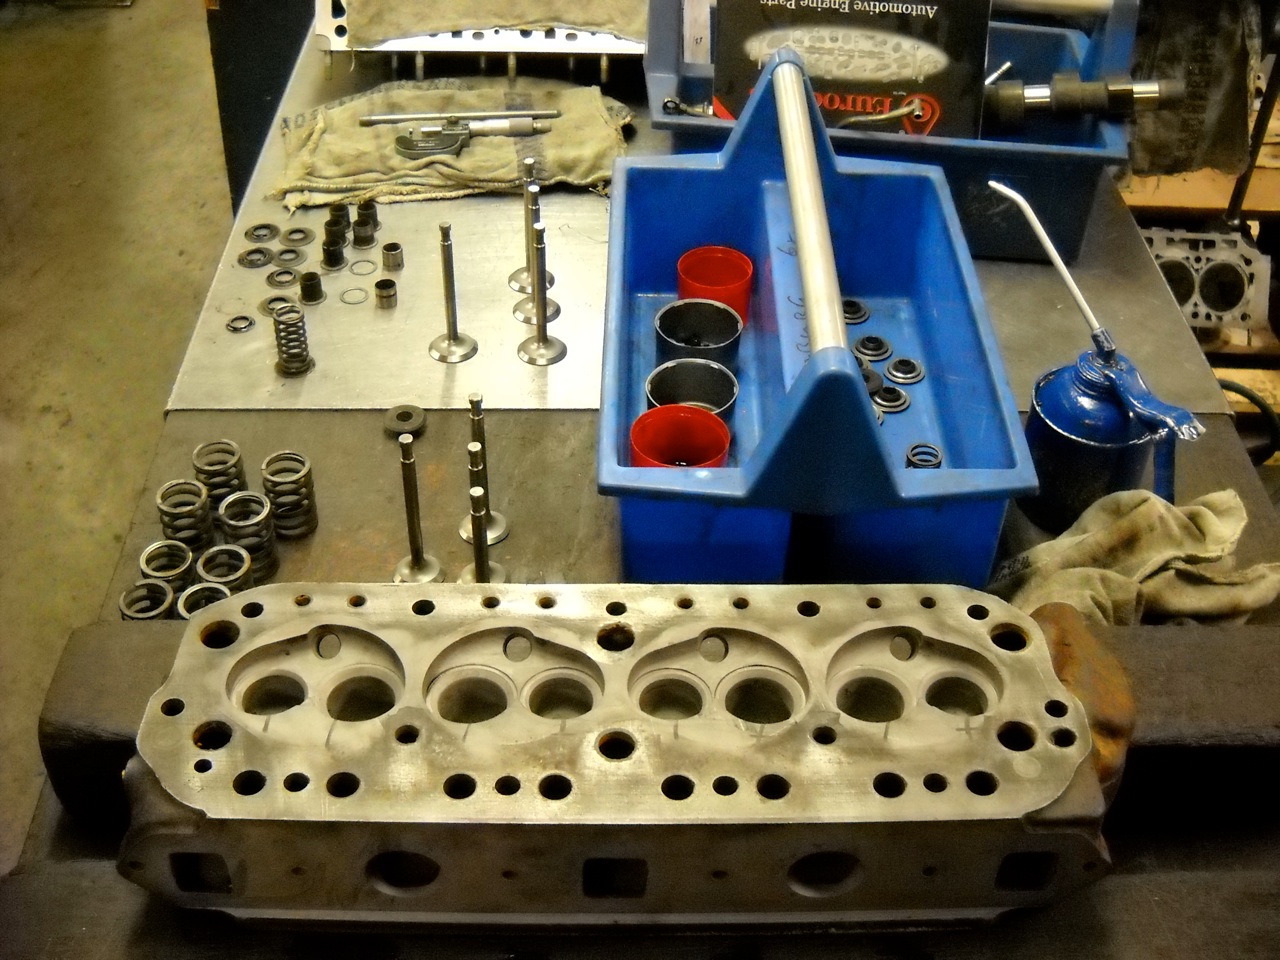
 The cylinder head requires some work. New values and value guides are needed. The play between the value and guide is too much. The value springs are not too bad, but if new ones can be found for not too much money, I'll get them new just as well. The valve rings are still ok. They are probably not for unleaded fuel, but with the few miles we do a year, it will be ok. Just keep an eye on the valve clearance...
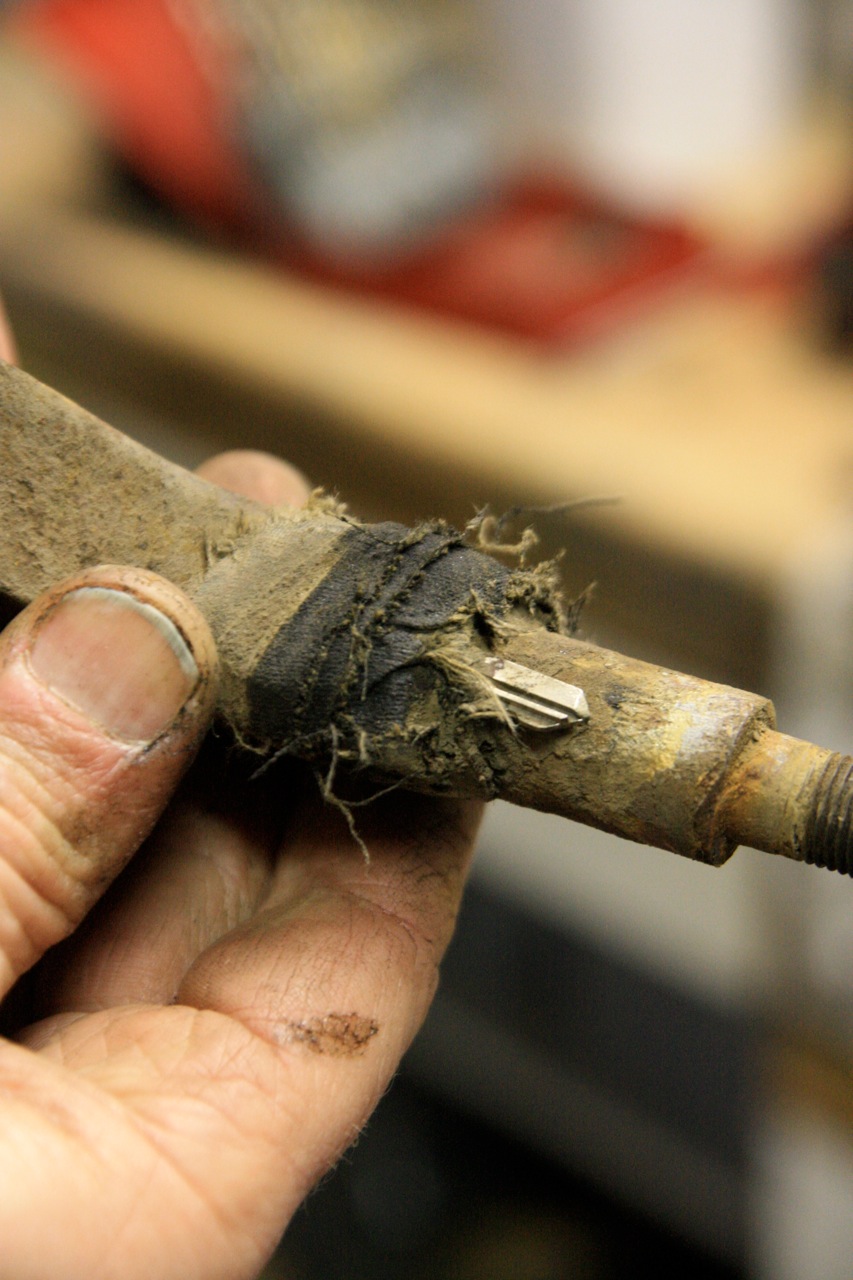
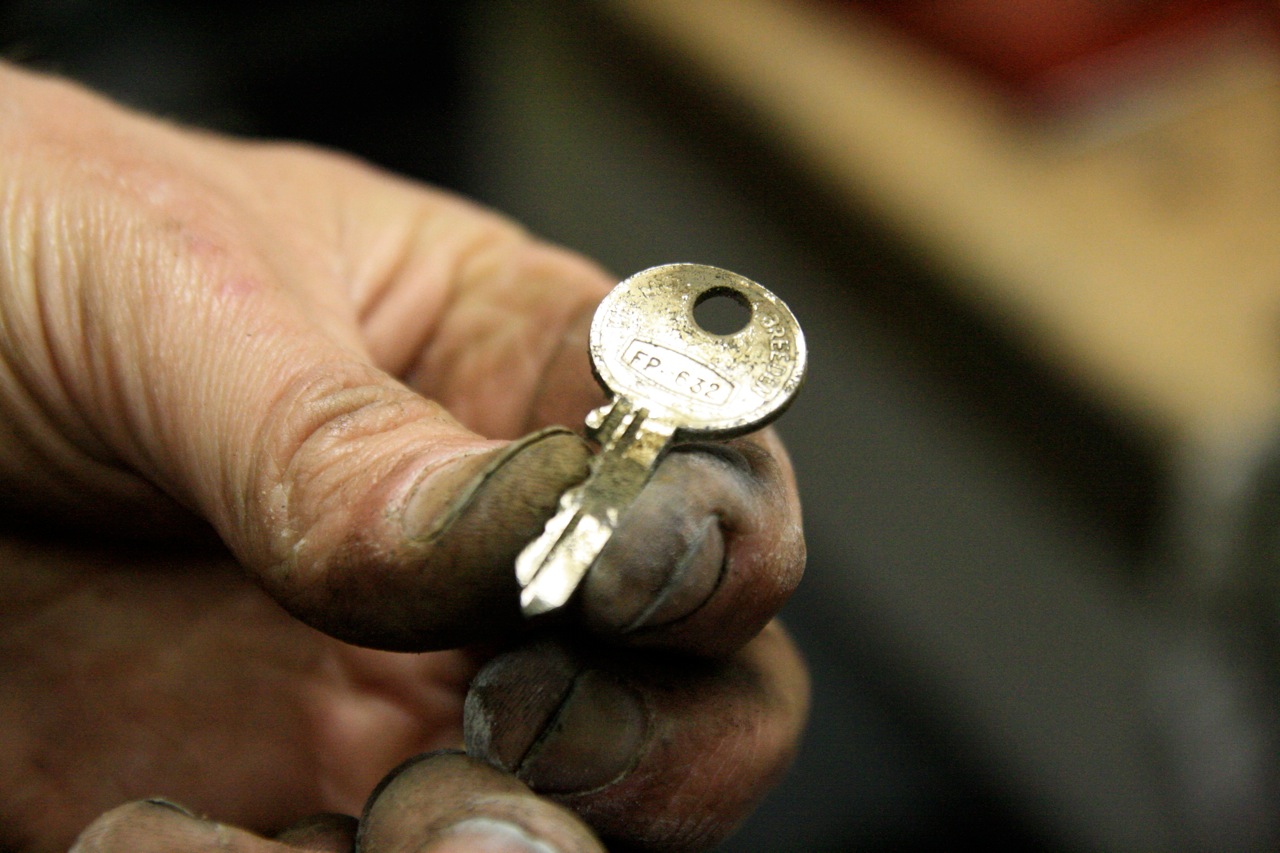 While removing the front suspension, a small piece of the chassis had to be removed. There was some tape wrapped around it. You hear those horror stories of a car taped together. So let us see what is under the tape. Out came an ignition key!! The key that was in the ignition when we bought the car was not original. But this one turns out to be much older. It looks like this is an original key!. One of the previous owners taped this to the chassis thinking to have a spare key in case he or she lost one. I bet the last owner was unaware of this, or he forgot to mention it. I will send him a note...
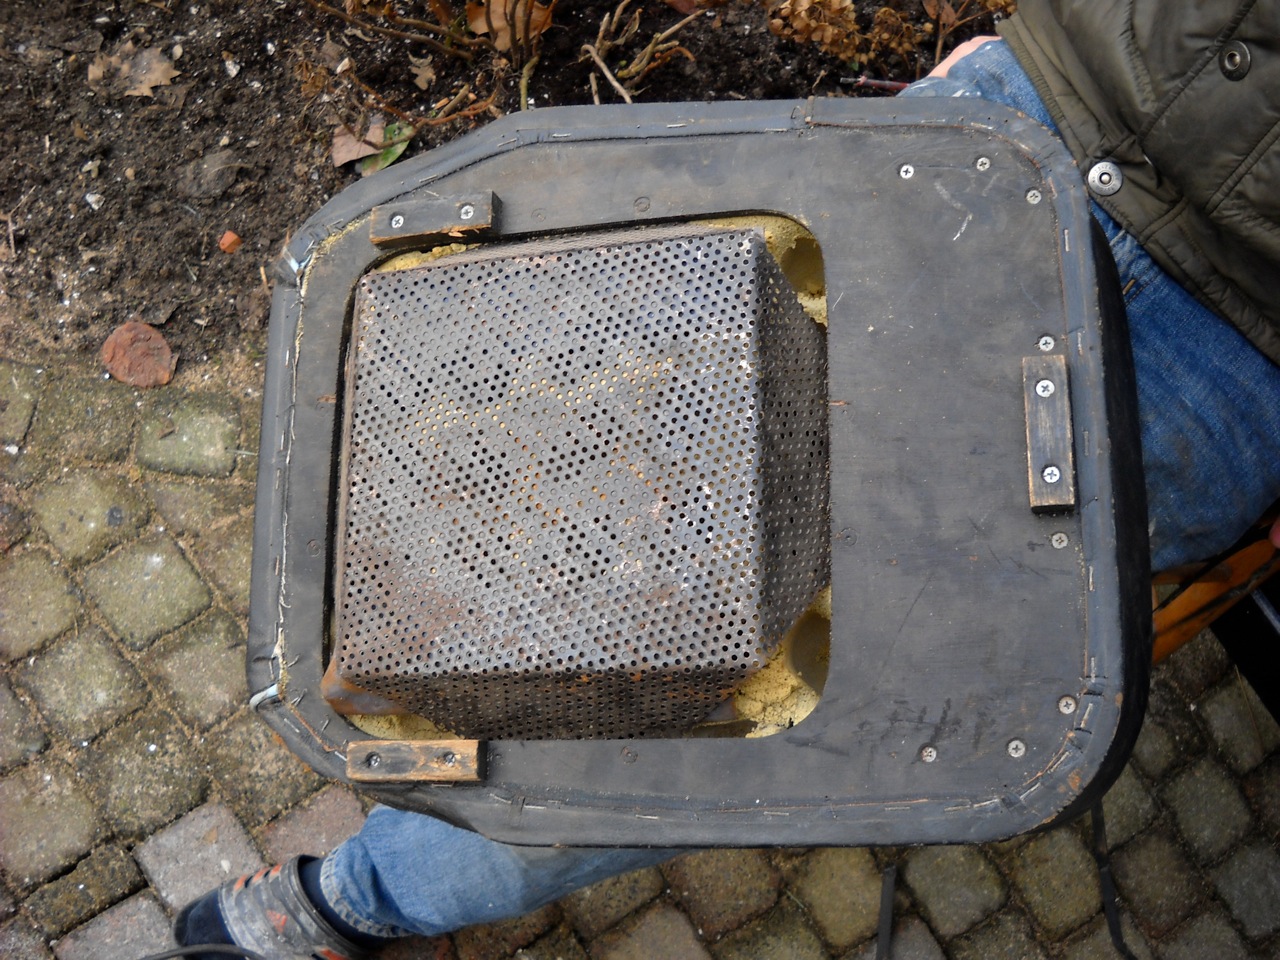
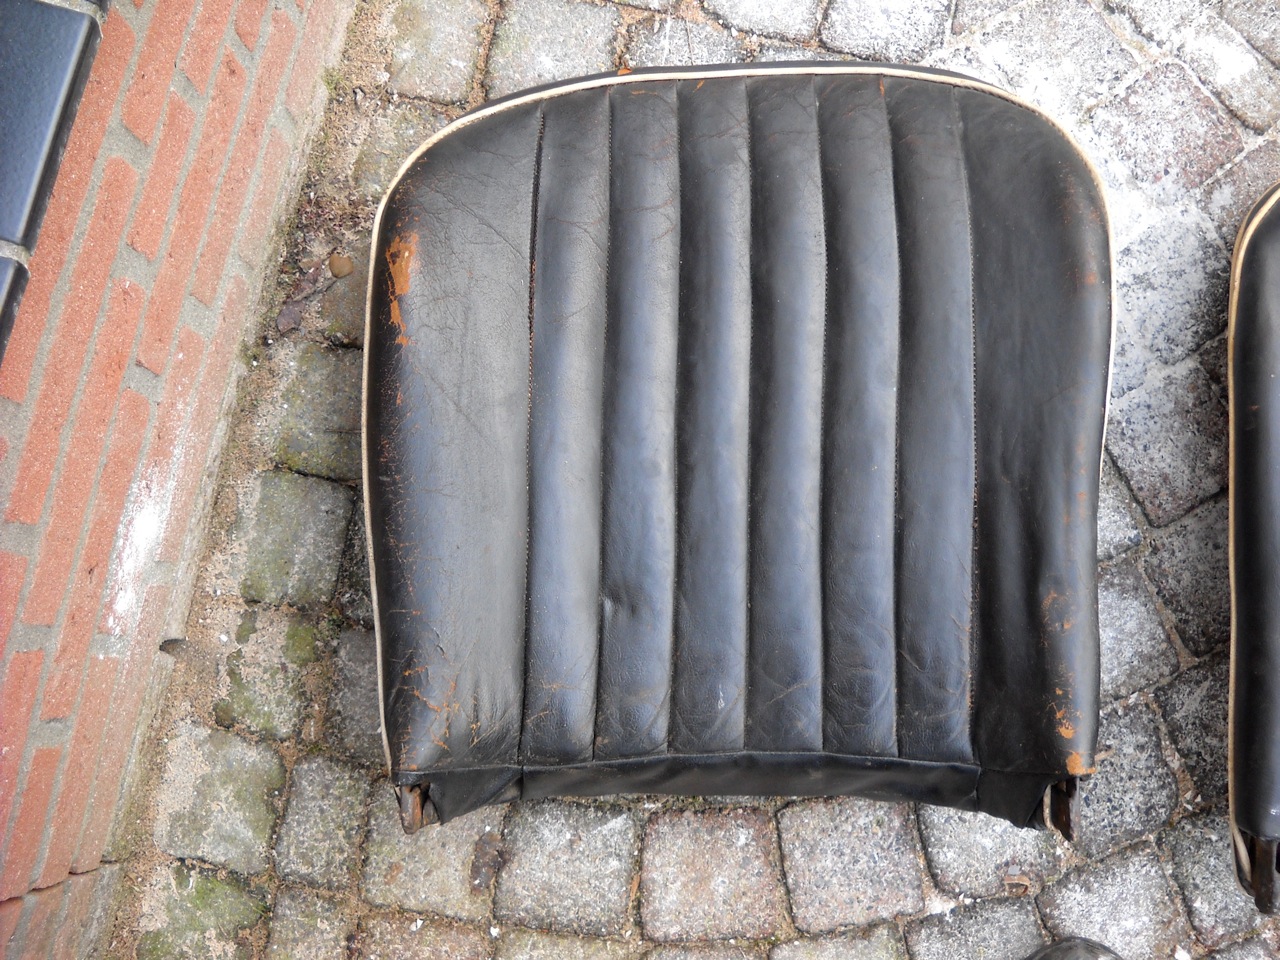
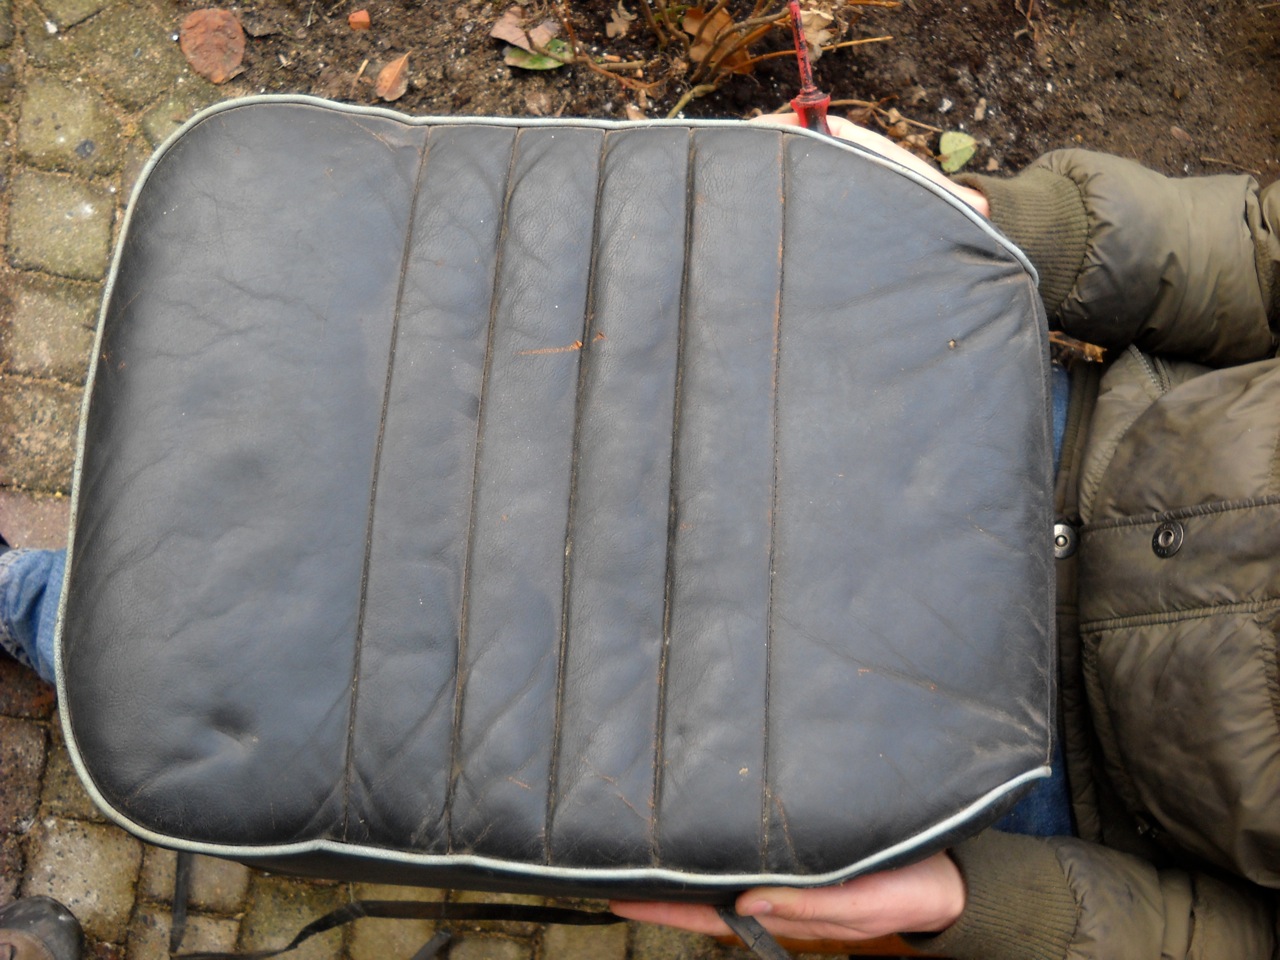 With the seats removed from the car, Daan had the honour of peeling off the leather covers and the paddings. These paddings were partly reduced to dust. Just picking them up and carrying them around leaves a nice trail. The frame was still in reasonable shape. Just sanding and paining it was sufficient. The seat frame has a plywood base. One of them was broken. Remaking it was easy: just put the original one on the new piece of plywood and saw... A fresh layer of black paint and it all looks like new. Pity they will soon be wrapped in new leather covers.
Lessons in Engine restoration
 Sometimes things do not look as great as it seems. We took the engine to an expert who knows all about pistons, cylinders and cylinder heads. I was proudly showing the engine, hoping to get a 2 thumps up. He did not want to make me feel bad, so he he brought the message very careful and politically correct. But after measuring the cylinder and piston, we could see that the engine is eh “How to say … worn”. I always thought a nice smooth cylinder wall is good. But now I know that there ought to be a hone profile. A pattern of fine lines to hold the oil.
 Moreover there was even a piston with a broken ring, whereby the broken off part obviously damaged the piston itself. In the picture you can see 2 parts of the ring squeezed side by side, where only 1 ring normally fits. Needless to say there is work to be done. We decided to re-bore the cylinders to an oversized piston of 0.02". Most of the bearings show some defects, and it would be better to replace them as well.
In the meantime we have been working on parts we took off in the previous weeks. The blower motor got new brushes and a new layer of paint. We welded new parts in the splash plates. Daan removed the doors and took them apart. On a rainy week-end I took the carburettors apart and polished them. 2 brass arms for the choke were seriously worn. The inner diameter of a certain hole must have been about 5mm, but measured almost 9mm now. 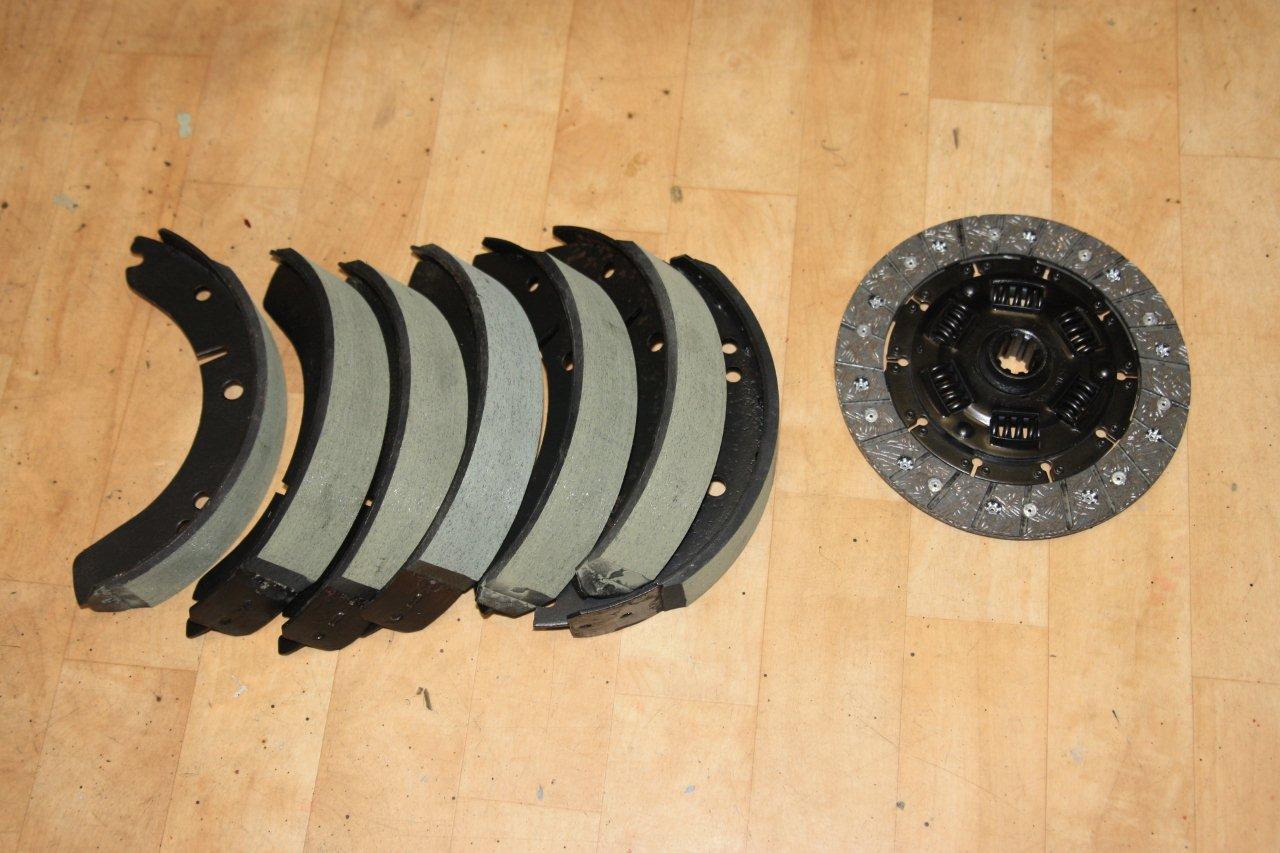 I took a bolt, and made it fit into the brass arm using a file. I filled up the spaces with solder, and drilled a new 5mm hole in the middle... and of course polished it.
The brake shoes and the clutch plate are cleaned and got new liners. I wonder when we can finally test them out...
Nice weather for painting

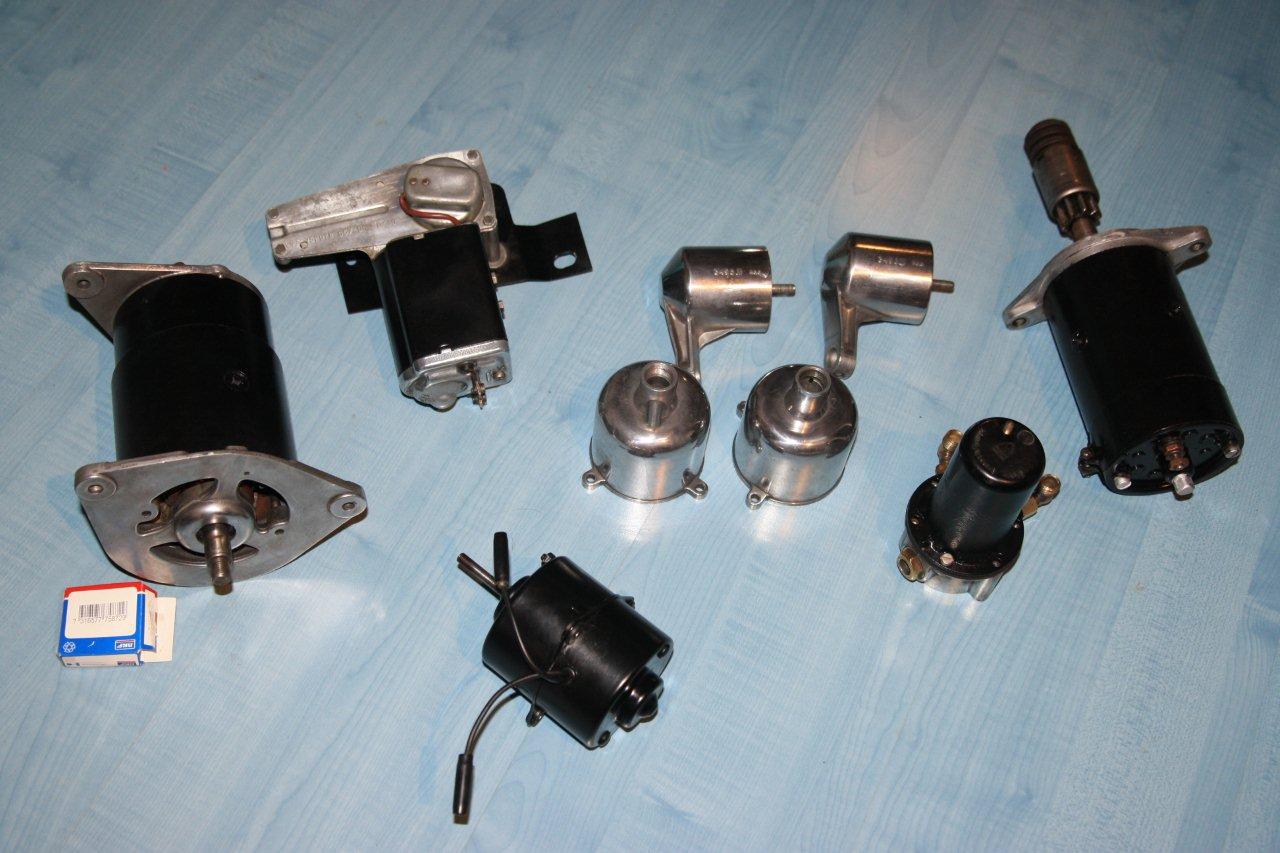
This weekend weather was rather unusual for October: Blue sky and up to 20° C. Nice weather to clean-up and fix the parts we took off the MGA last couple of days. I took the oil pump off and cleaned it. The oil has become very thick in the 30 years it has been sitting in the garage. But the oil pump turned out to be in good shape. The clearances are well within specification. So after cleaning, I put it in a bag with a label: ready for re-assembly. The starter was the next component. We took it apart, cleaned it, checked the brushes. And so after giving it a fresh layer paint we could store it on the “ready for assembly” - shelf. The wiper motor was up next. That did not show signs of a lot of wear: “If never rains in California ….”. Although that is not quite true, it obviously does not rain often enough to wear the wiper motor. The little mounting panel underneath the wiper motor was covered with a centimetre of oily dirt. The paint was all dissolved and peeled off. The master brake cylinder is positioned right next to the wiper motor. So now we know why there was no brake fluid left. Some of it found its way over the firewall onto this panel, dissolving paint and rubber mountings.
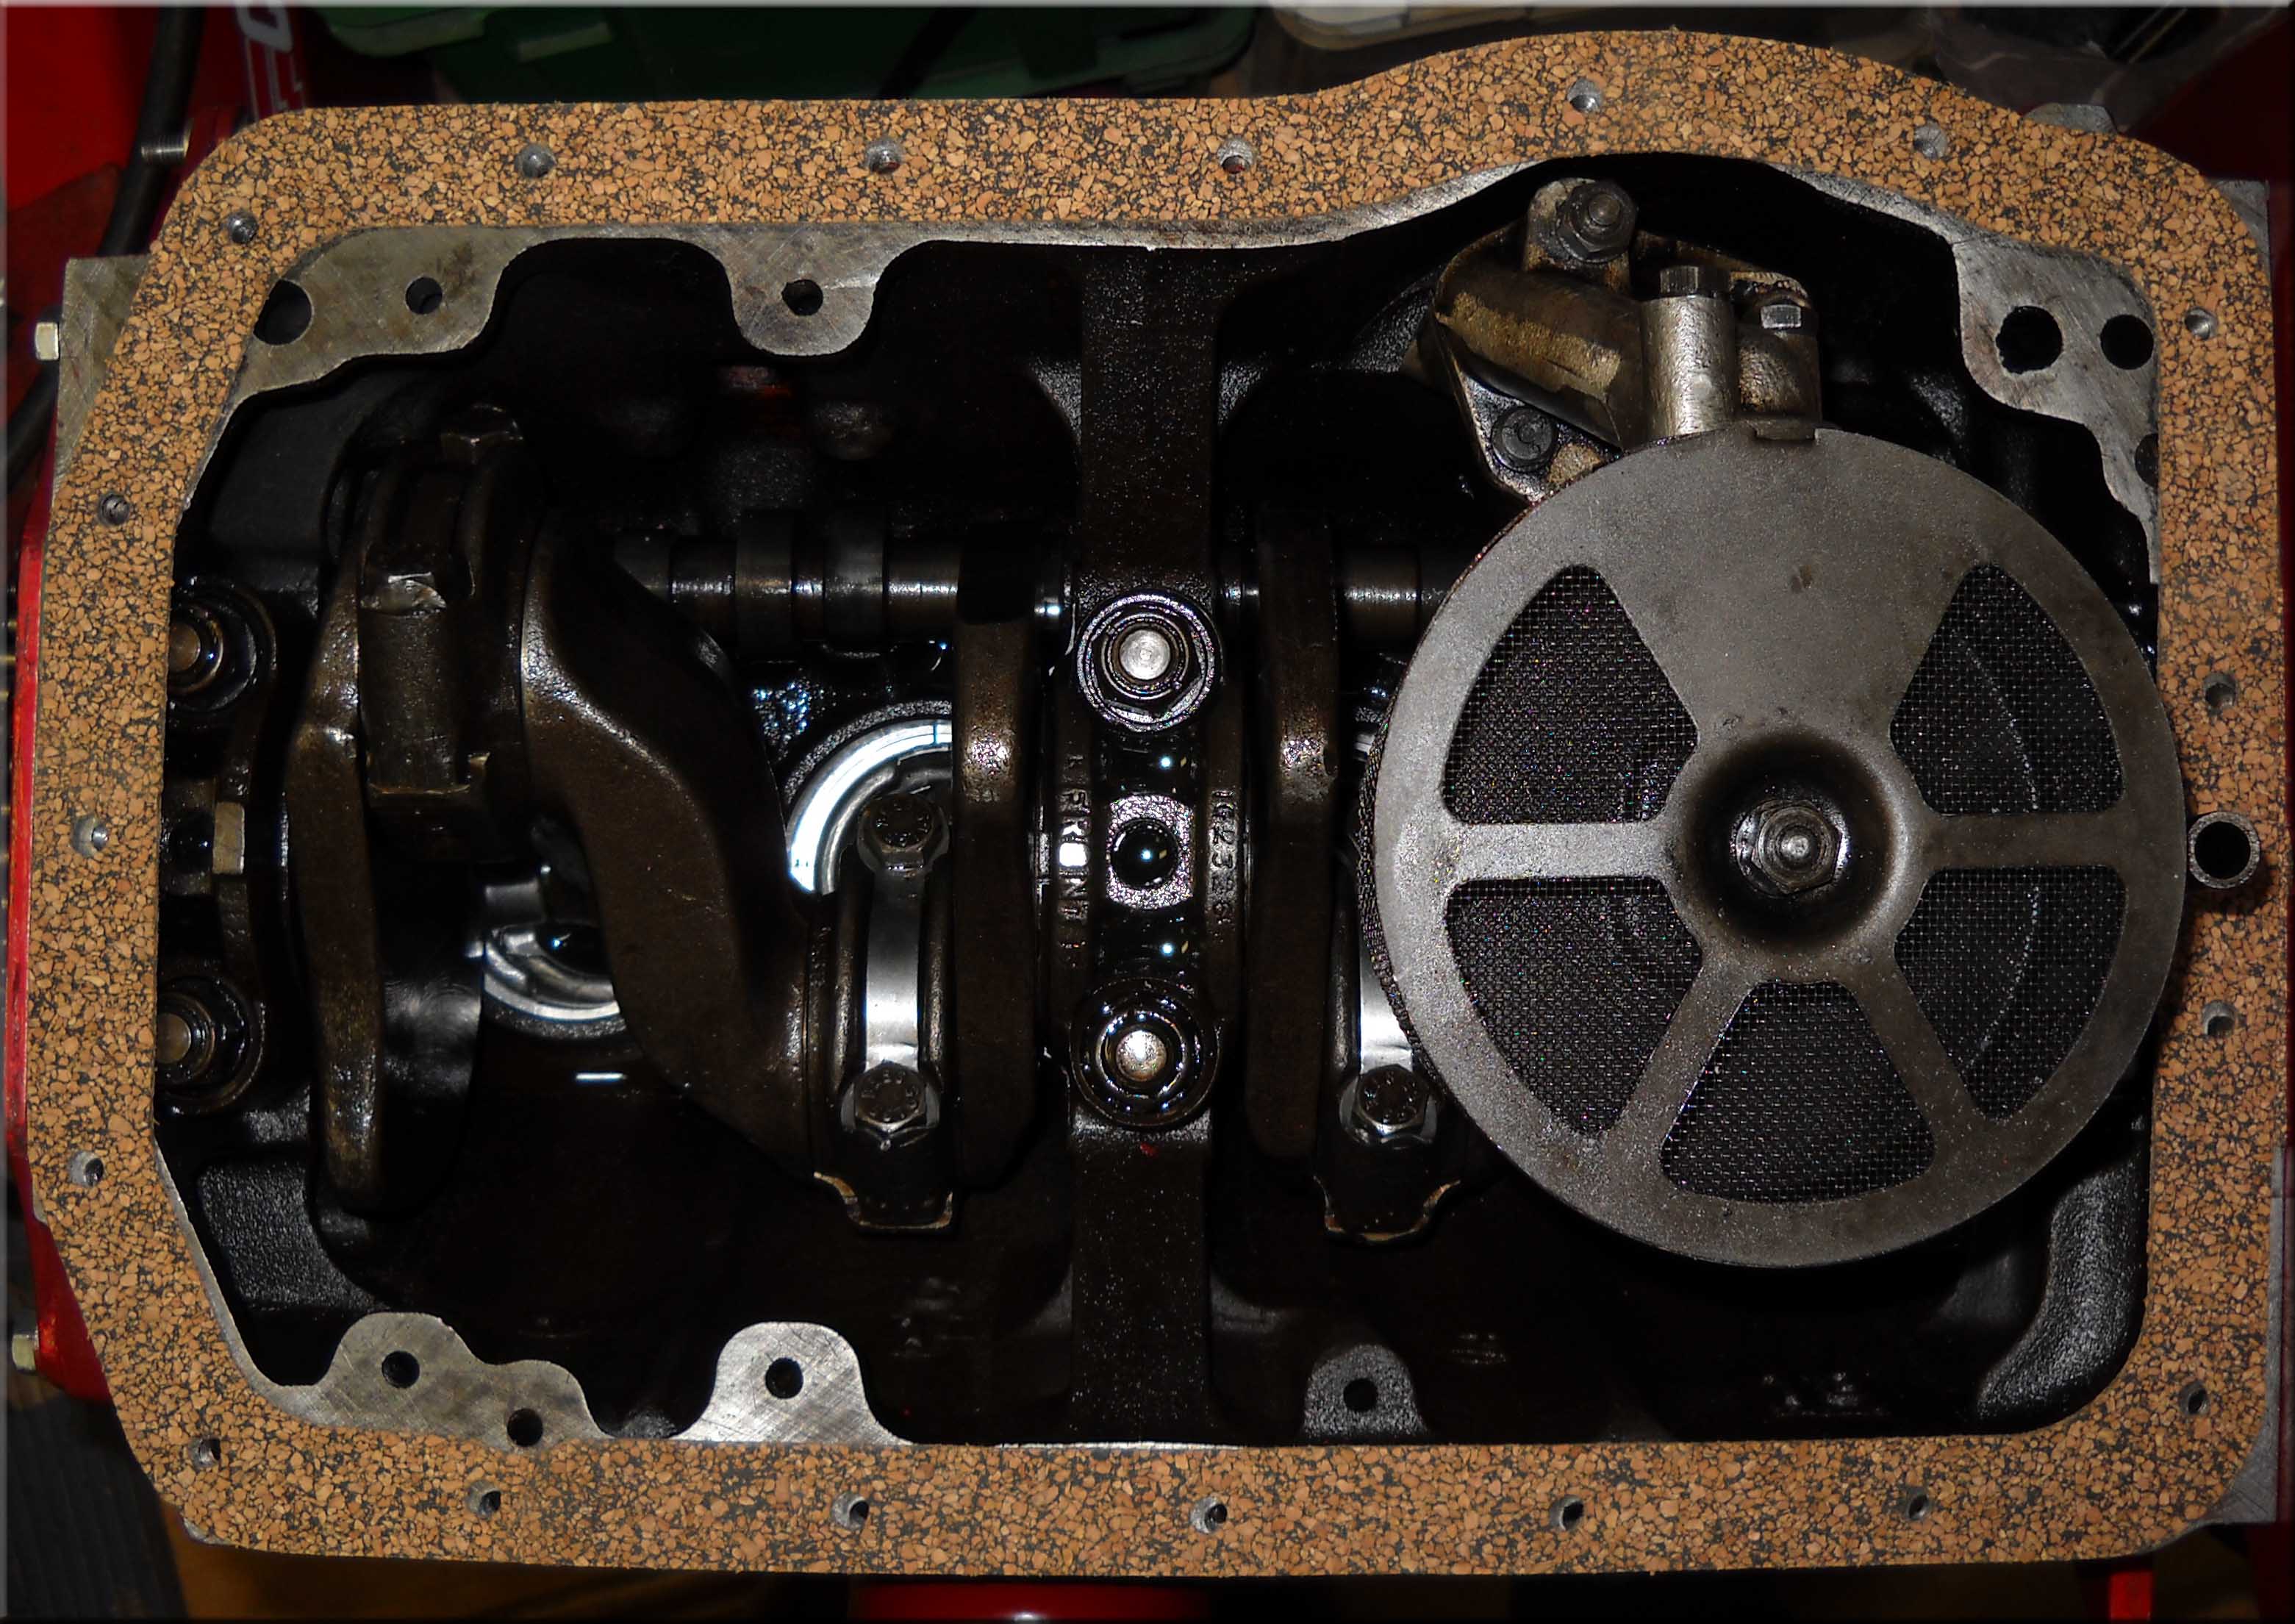
 We also achieved a first milestone: The first ‘before and after’ picture: The engine. The bearings of the crankshaft look great. The camshaft does show signs of wear, but we should be able to reuse. In the end we are not going to put 10000 km per year on it. Moreover it looks like the camshaft can be replaced without taking the engine out of the car: fun for in a couple of years.